Visual C# is one of the software development environments within Microsoft's Visual Studio suite. As the name implies, Visual C# uses C# as the programming language with which to develop software. At it's core, Visual C#'s integrated development environment (IDE) lets programmers create standalone applications, web sites, web applications, and web services that run on any platform supported by Microsoft's .NET Framework. With the introduction of Microsoft's XNA Framework later in the course, games can be developed on the XBox 360 with minimal overhead.
Visual C# 2010 Express is installed on most PCs on campus.
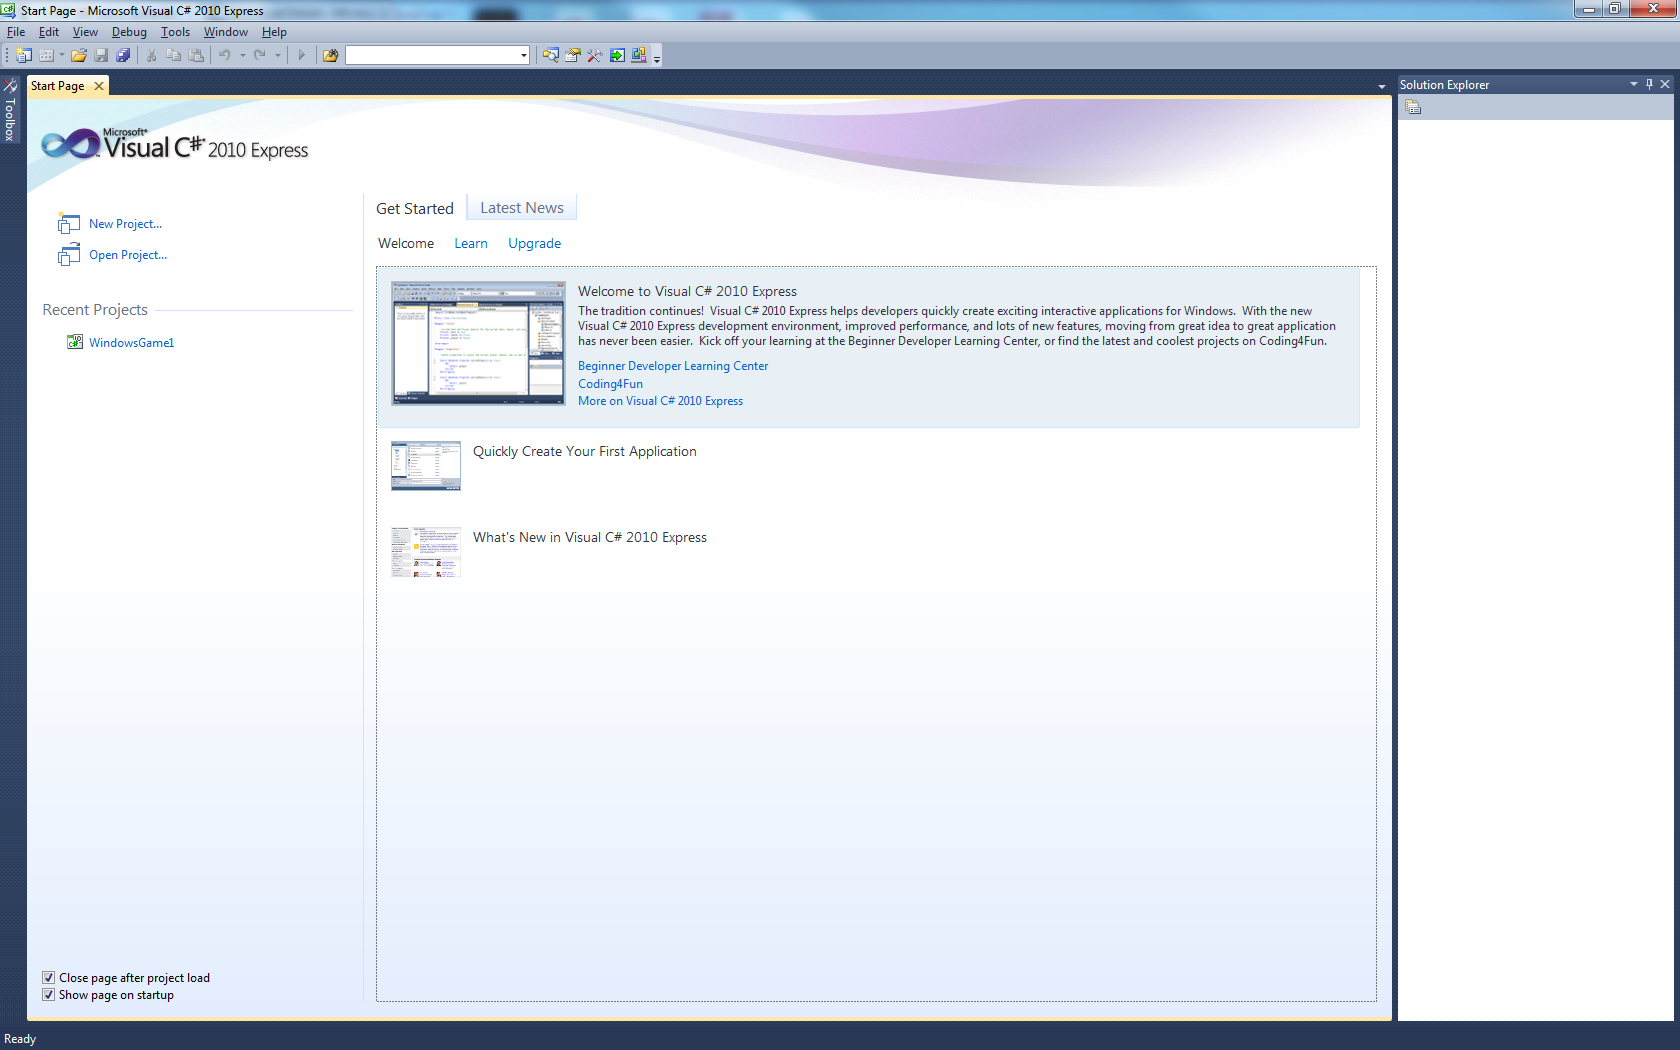
From the Start Menu, in the quick search field, type in "visual express" and select
"Microsoft Visual C# 2010 Express Edition".
A window should appear that looks like the following:
If you have a PC running Windows, you can download Visual C# 2010 Express Edition from Microsoft.
Alternatively, you can bring a laptop to lab and have our TA install Visual Studio 2010 on it. This includes Visual C# and is almost identical.
Be sure to then use Windows Update to install any updates.
You can then install Microsoft XNA Game Studio 4.0 from Microsoft. We will use that soon. (Note: Version 4.0 is installed on the lab computers.)
We will work through a small example program during lab. This is meant to introduce you to some of the most important features of the software, as well as C# syntax. The language syntax is fairly similar to that of Java or C++, but we'll see some differences. This lab and later ones do not walk you though all the language and library details that you'll need, and you'll need to look for some information on your own. But we'll point you to some useful resources for that, as well.
Our first project is going to square an input number. It's not too exciting, but it'll serve as an excuse to see some features of our development environment and programming language. Besides, it's slightly more interesting than the ubiquitous "Hello, world." example.
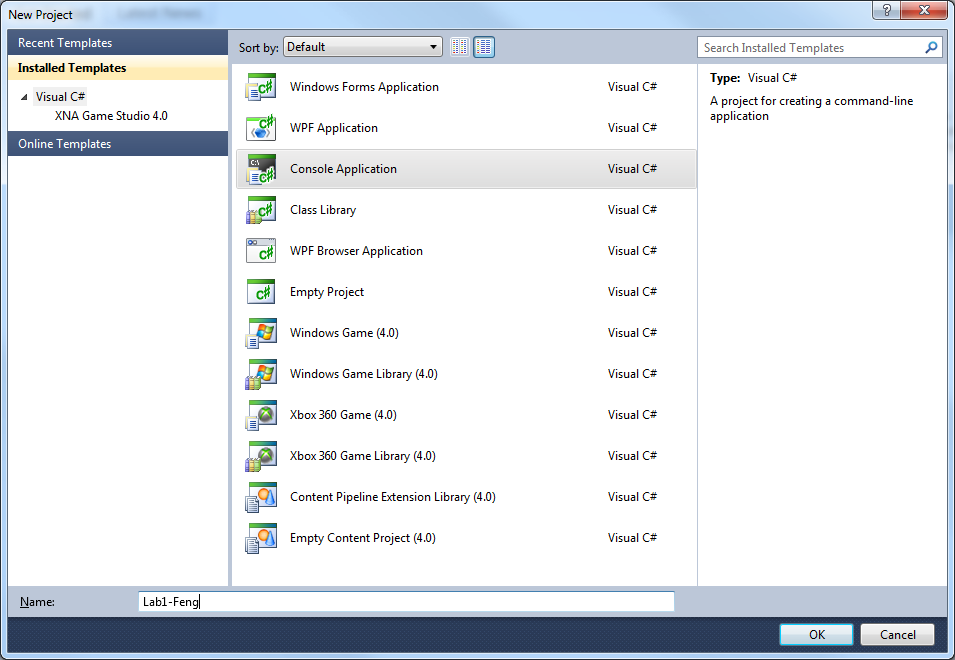
To start a new program, go to File → New Project, and then select New Console Application. (A "console application" will be run from a console window, a.k.a. the command line.) In the "Name" filed, type "Lab1-[last_name]", where [last_name] is replaced with your last name. Click "Ok".
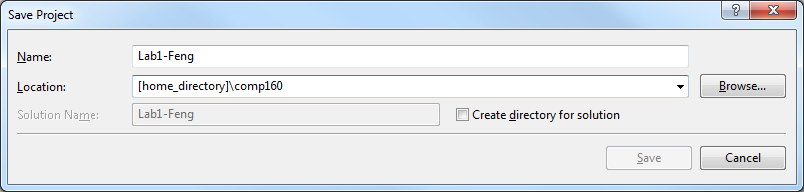
The first thing to do is to save the project to the proper location: Go to "File" and "Save All". Uncheck "Create direcotry for solution" and save the project under a directory called "comp160" under your home network directory. This directory will be where you save all of your C# projects.
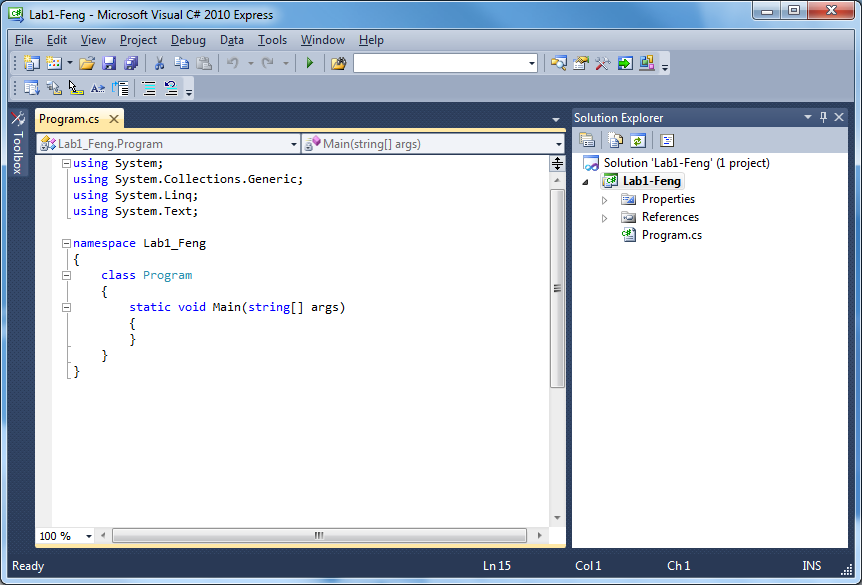
Your new project starts with a basic code template.
Let's look at some things on the screen before we get started.
The project "Lab1-" currently consists of one file, "Program.cs". The right-hand pane, the Solution Explorer, summarizes this. In that pane, right-click on the project name, and rename it to something more mnemonic, like SquareANumberConsole.
The main pane shows the initial default code. Before looking at the code, look at the top of the pane. As you work, more tabs will be created for other code files, UML diagrams, etc. Two pull-down lists at the top will help you search your code. The one on the left lists all the namespaces (a grouping of classes, objects, and functions — similar to a Java package). The one on the right lists all the methods.
Let's finally look at the code and write our program.
At the top are using directives,
essentially the same as import in Java, and it is similar to "#include" in C/C++ to a lesser extent.
Next comes a namespace declaration,
grouping all the (as yet nonexistent) code.
Unlike with Java packages, namespaces aren't associated with how the
code is organized into files and directories.
So far, we only have one stub class, with a stub Main method.
Note that Main is capitalized in C#. Main is the main entry point to our program,
which just means that all computation will begin from and end at this function. The parameter "args" contains parameters
on the command line; we will not be using it in this lab.
Also, note the brackets on the left-hand side. These allow you to quickly see how the program is grouped. Also, you can collapse chunks of the code using the little boxes.
For this program, what we want to do is straightforward: read a number into a variable, and print out its square. The code will look almost identical to C++ or Java, except for what the I/O methods are called.
We can try to compile and run the project by clicking the green arrow in the toolbar or pressing "F5". Since this program does nothing, you will see only a flash of a console window and return to the workspace.
Start to declare a variable within Main. Type int.
While you are typing, observe what happens. A pull-down menu lists keywords
and available methods that you might mean. At any point, you can stop typing
and select the appropriate completion.
Finish the variable declaration, say with int n;.
Your code is automatically indented and color-coded.
System.Console. This is similar to System.in and System.out
in Java. The complete reference for System.Console can be found
online. We can read a single line of
text from console (a line is terminated with the "Enter" key) by writing the following:
string s = System.Console.ReadLine();
Now we need a method to convert a string into a number.
The appropriate function is Int32.Parse.
This function takes in a single string as parameter and returns a
32-bit integer (the type int).
So, we type n = Int32.Parse(s); . Alternatively, we can type n = int.Parse(s); since
int is a synonym for System.Int32.
So far, you should have code looking like the following:
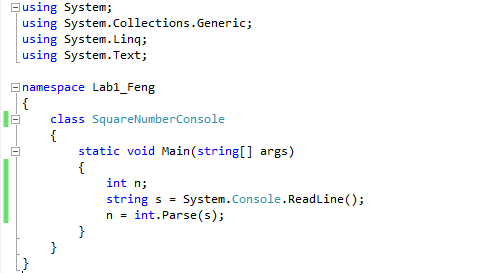
Squaring our number is easy — just multiply it by itself.
Exercise:
Check if there is a int.Square
method, or anything similar.
Lastly, we need to output the result, and we need the appropriate method.
One good strategy for finding the appropriate library call is to realize many other people have already asked
and answered this question. Pull out a trusty C# textbook, reference manual,
or online tutorial. In your web browser, search using some appropriate
keywords. You should find plenty of examples describing
the many variants of
System.Console.Write and System.Console.WriteLine.
Exercise:
Write code to output the result.
For the most part, save everything to your U: drive, i.e., your personal storage. It might be a bit faster to save and run on the local computer's C: drive, but be sure to eventually save to the U: before logging out.
To test it, we want to "build" it. In the "Debug" menu, there are options to "Start Debugging" or "Build Solution". "Start Debuggin" will build and run an instance of the program. "Build Solution" will only build the program, but will not run it. In most cases, we want to build and then run the program and so "Start Debugging" would be the correct option. To help you build/debug faster, note that "F5" and "F6" are hotkeys for "Build Solution" and "Start Debuggin" respectively. The green arrow in the toolbar is associated with "Start Debugging".
Exercise:
An alternate method to run your program is to go to the appropriate
folder, and simply double-click. This shows that you're really making
a program which can run without Visual C#/Studio running.
It should reside in the Debug folder of your project directory, which should be:
[home_directory]/comp160/Lab1-[last_name]/bin/Debug
Exercise: Revise your program to create output like
The square of 5 is 25.
using a single call to WriteLine.
This is due before the next lab. Demonstrate it to us in lab today or at the very beginning of next lab.
These are optional and ungraded.
We've completely ignored the exceptions that our method calls could generate. When we're just getting started, that's acceptable, since our focus is on the basics. For larger programs, exceptions are an important programming tool that this course won't substantially address. Read what exceptions can be raised by the methods we used. Also read about try … catch. Add appropriate exception-handling code to your program.
Experiment with the debugging options in the Debug menu. In particular, see how to use Step Into and Step Over and how to use breakpoints. At this point, there is no need to be an expert on any of this. But as your programs grow larger, you should become more familiar with these useful tools.
There are many useful online resources for C# programming. The following are small sampling that we have found.