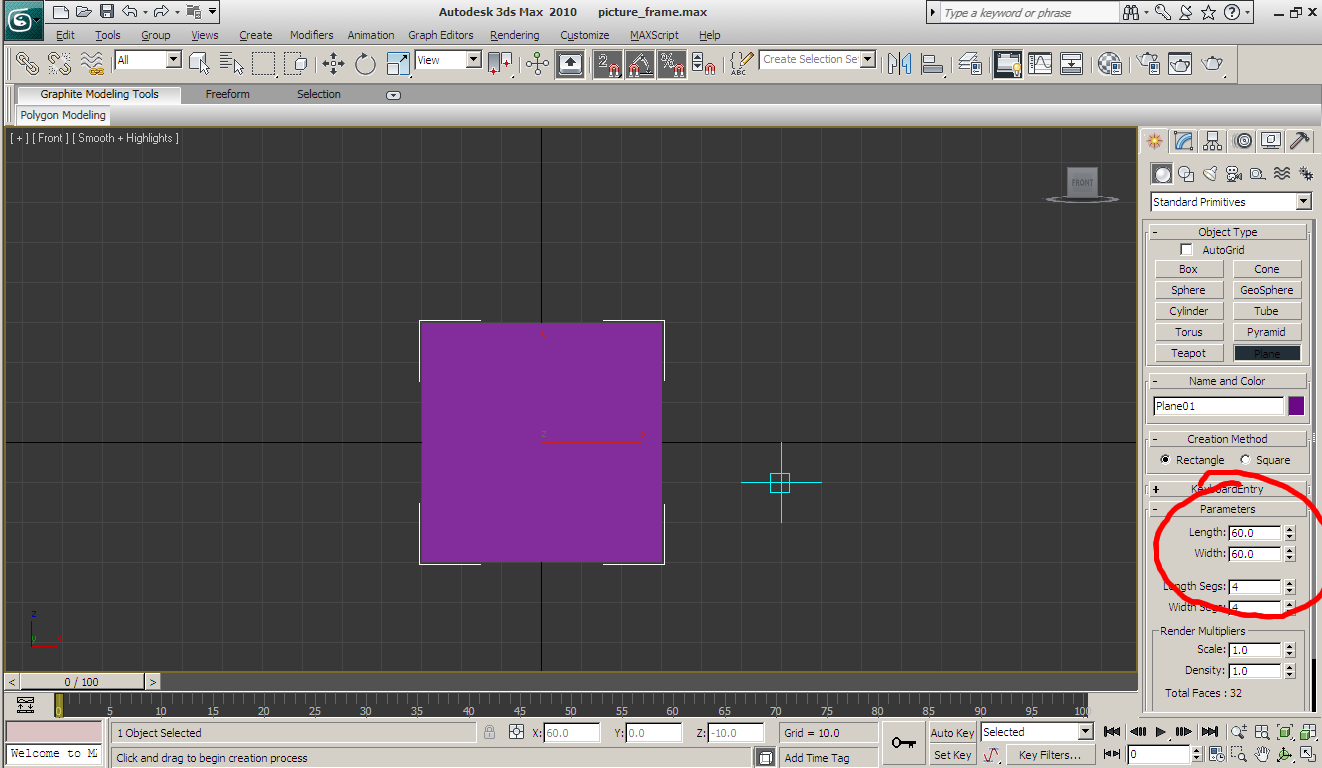
Create a simple plane, with a perfectly square size.
I moved this slightly backwards from 0, so it wouldn't fight with the model I was about to build.
I then applied the picture frame image to this plane, and unwrapped it so I could center the frame part of the image.
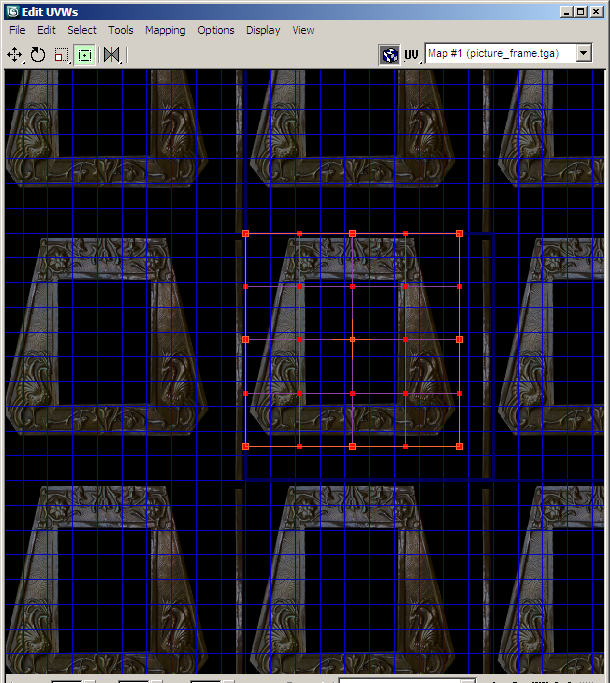
I centered the frame portion of the texture onto my square -- I'll be using this as a guideline when I build my actual model.
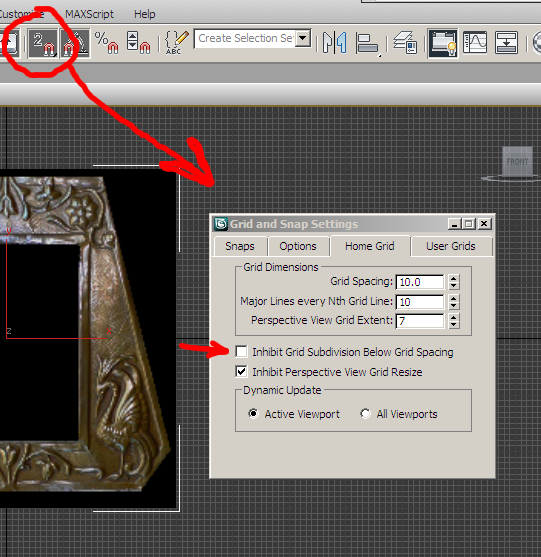
I adjust my grid spacing to allow small values -- I tend to work with grid snapping on to make straight lines easy.
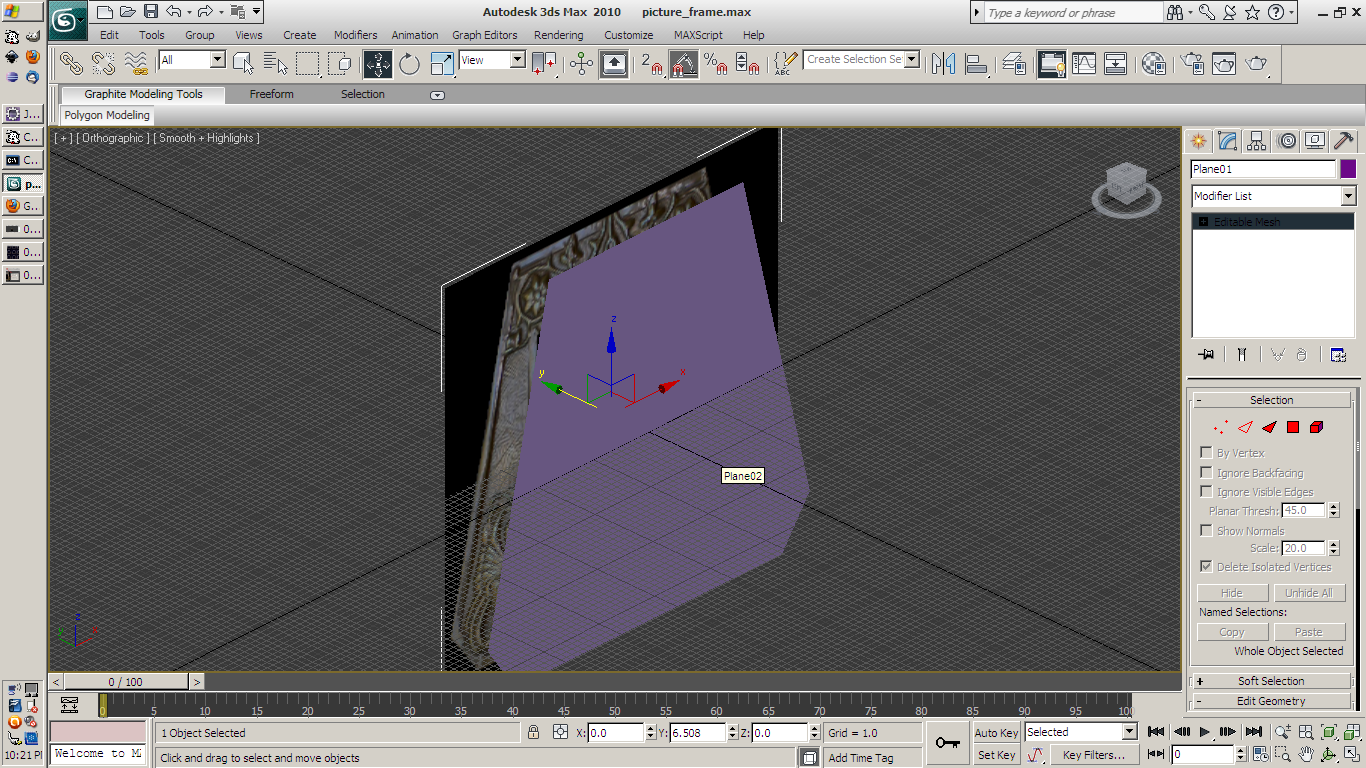
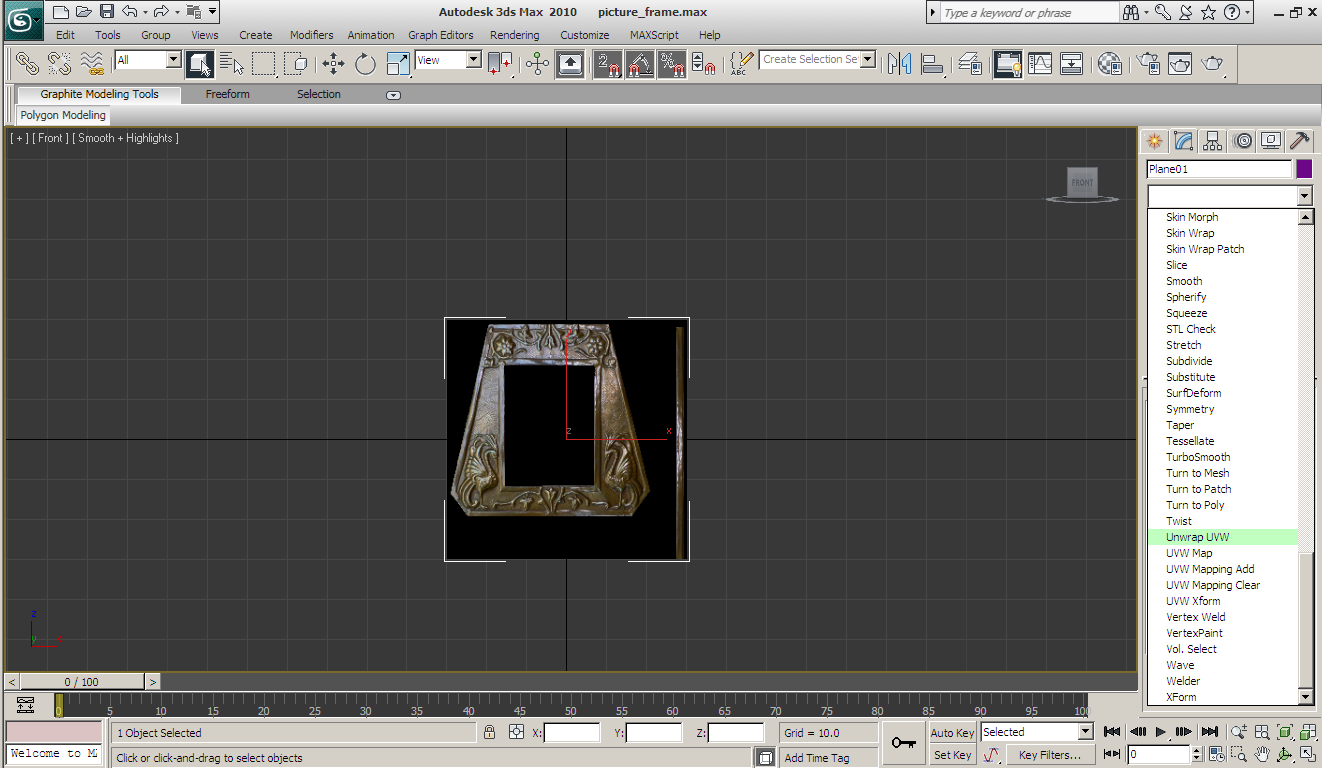
I make another plane, lined up in the front view with the picture frame itself.
I QuickSlice it near the bottom and move the vertices to create the six outer sides of the frame.
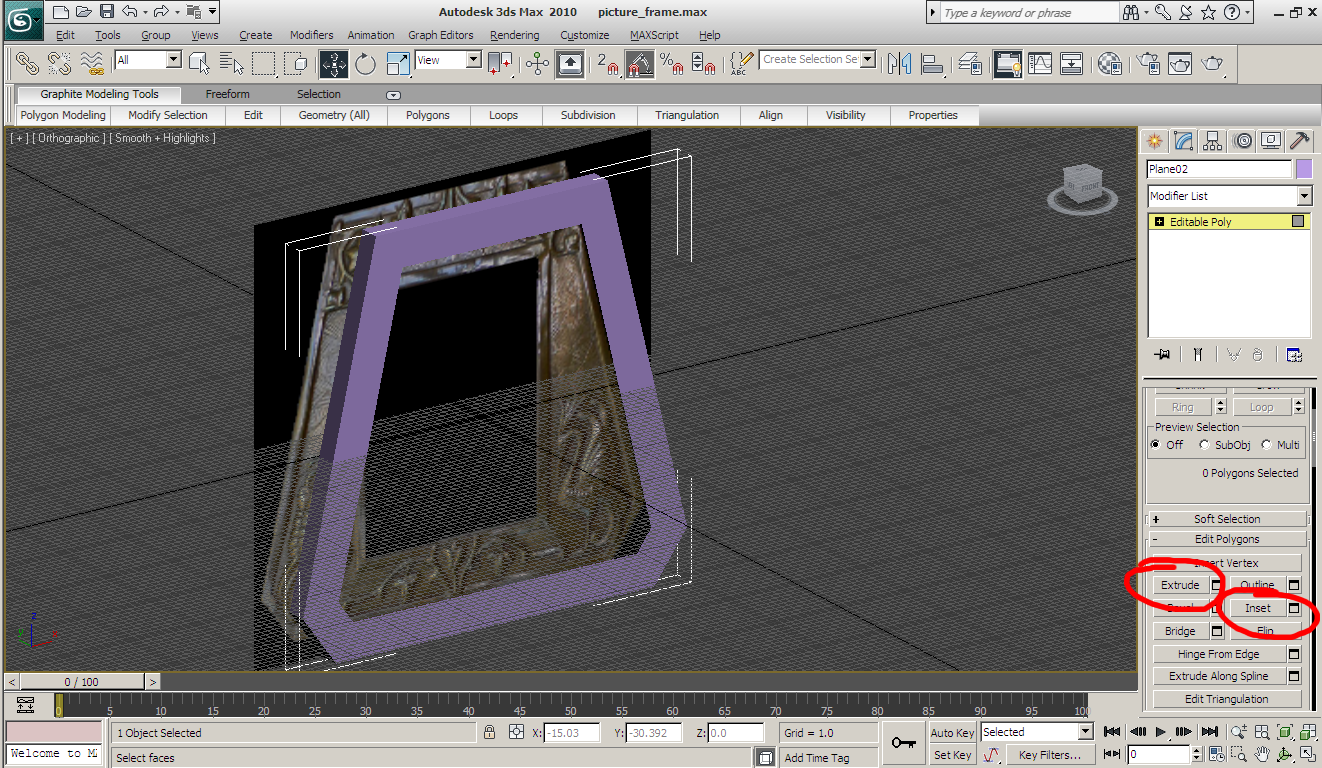
I select my outline and Extrude it out by three units.
I then select the front and use Inset to create an outline. I delete the center face.
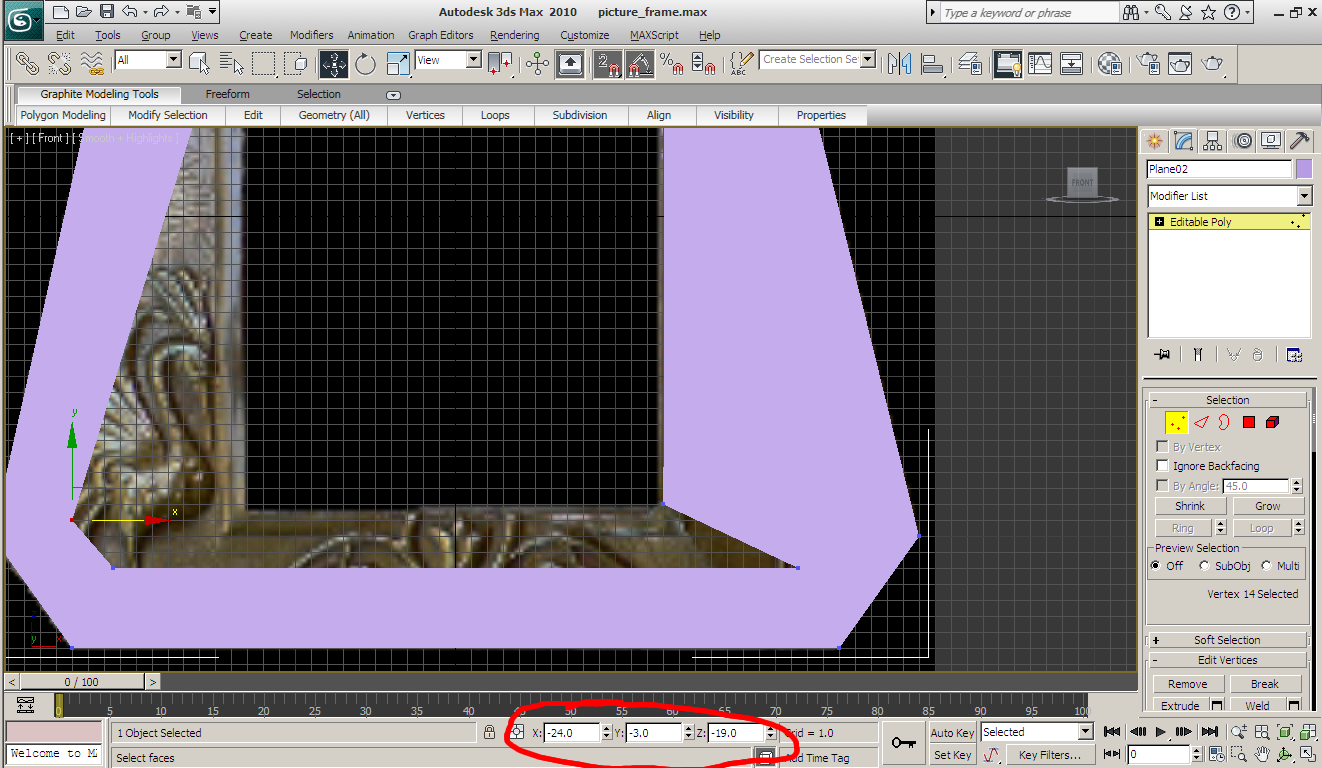
I move the vertices to line up with the hole in the center of the frame.
After this I use Target Weld to join the bottom vertices -- I only need a square hole after all.
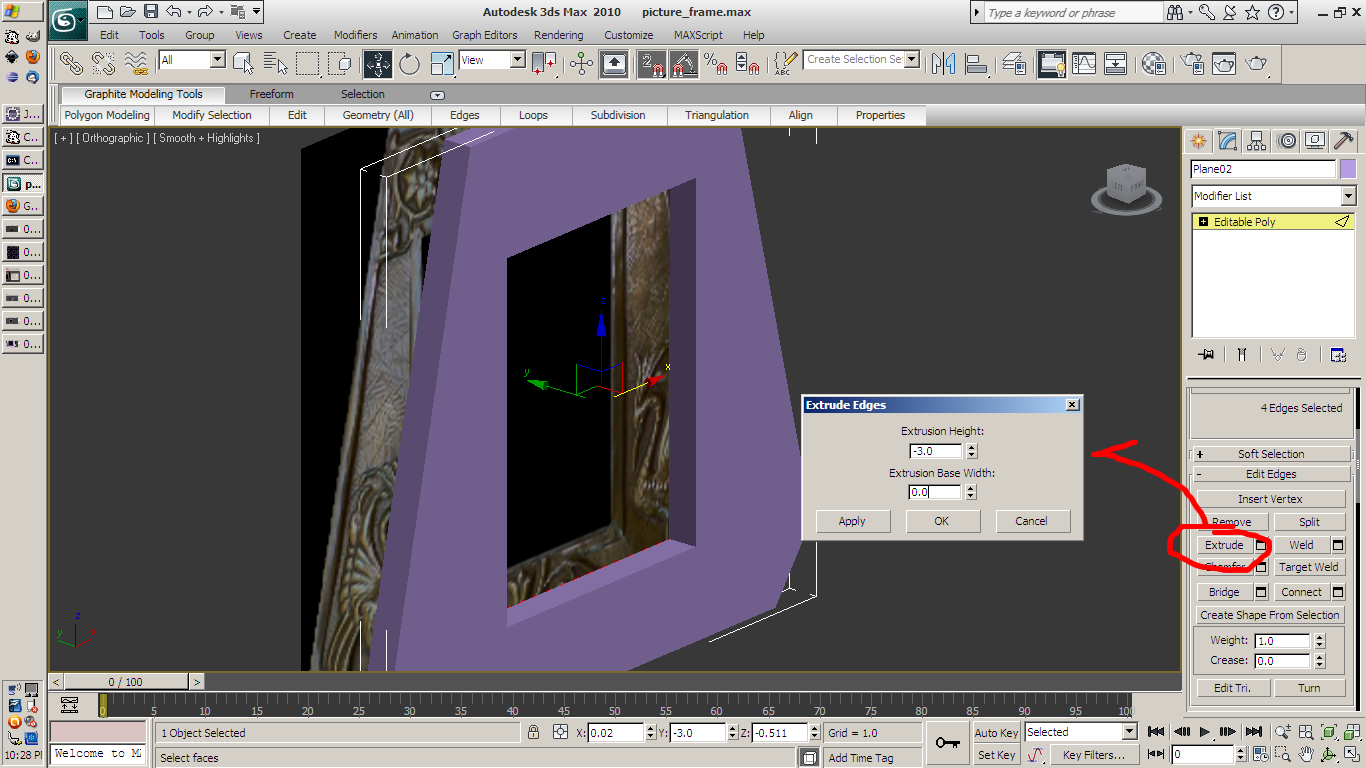
Once I have my square hole, I select the edges and extrude again (by three units, like before).

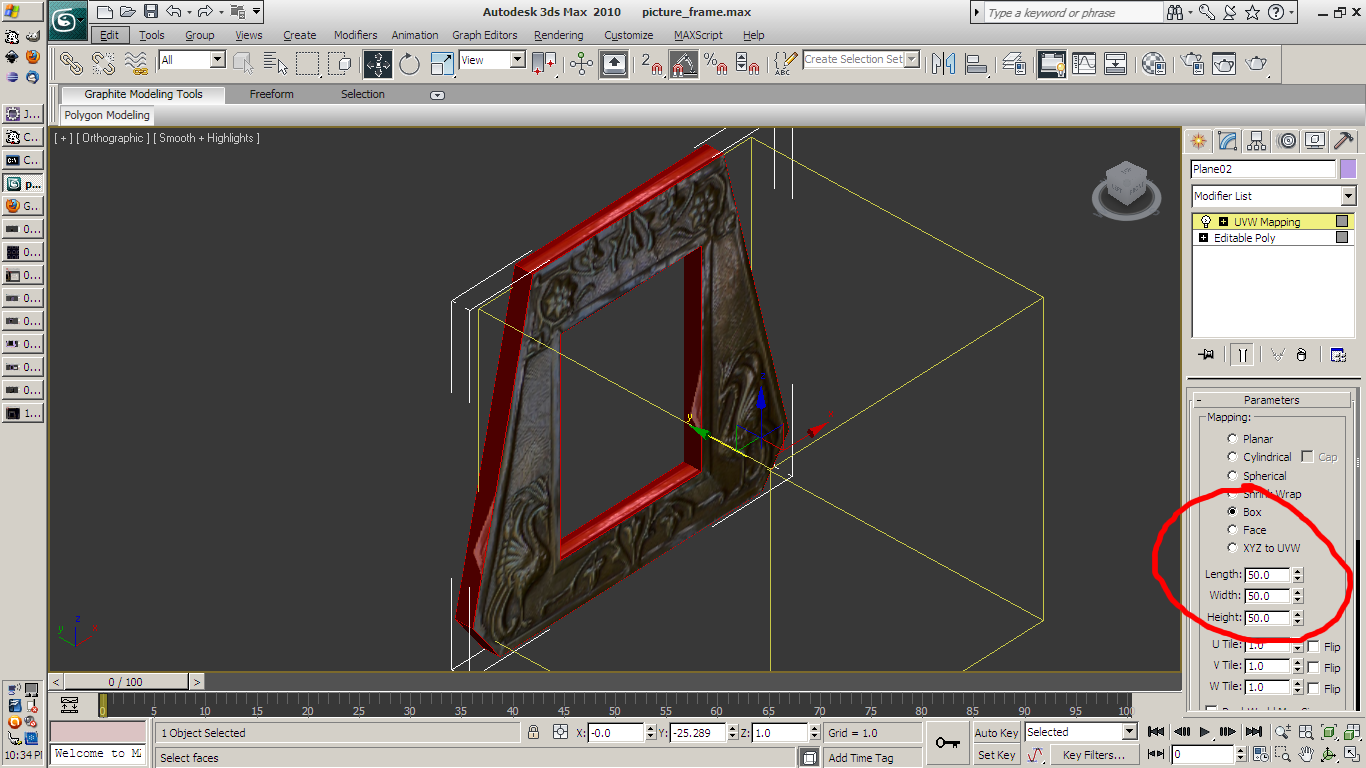
I take my frame material and apply it to my actual frame model, and use UVW map to line it up, to begin with.
Remember this is only a starting point, we'll end up unwrapping things almost always, so get UVW Map roughly how you want it, then use UVW Unwrap to fine tune it.
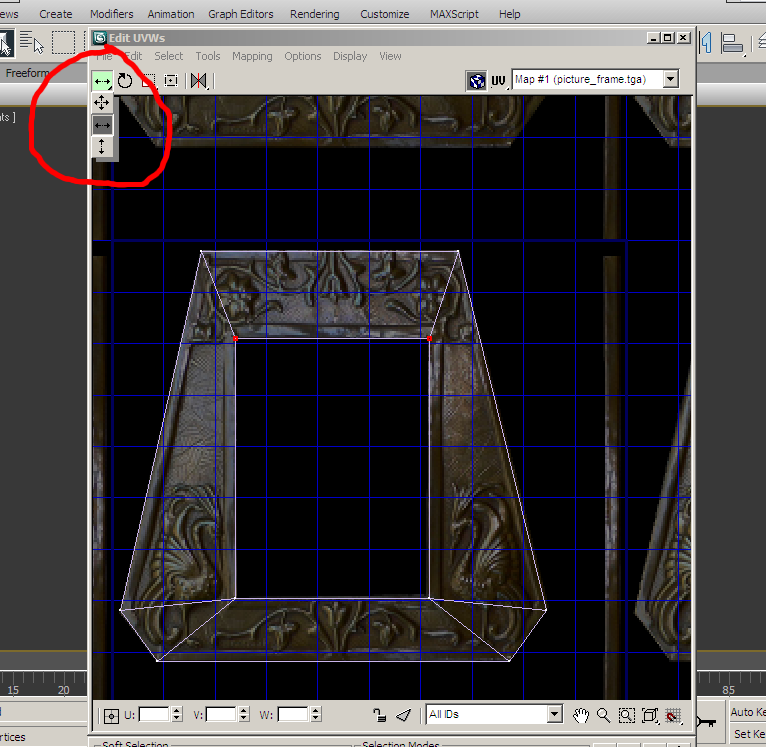
I use UVW Unwrap and move the texture coordinates to align with the actual frame better.
The sides are still wrong, though!
So, I select those faces, then use UVW Map again to get some non-stretchy texture alignment.
I set the UVW Map box to a square value, so everything's proportional.
Note that the sides here still look wrong -- that's fine, we'll fix it with UVW Unwrap.
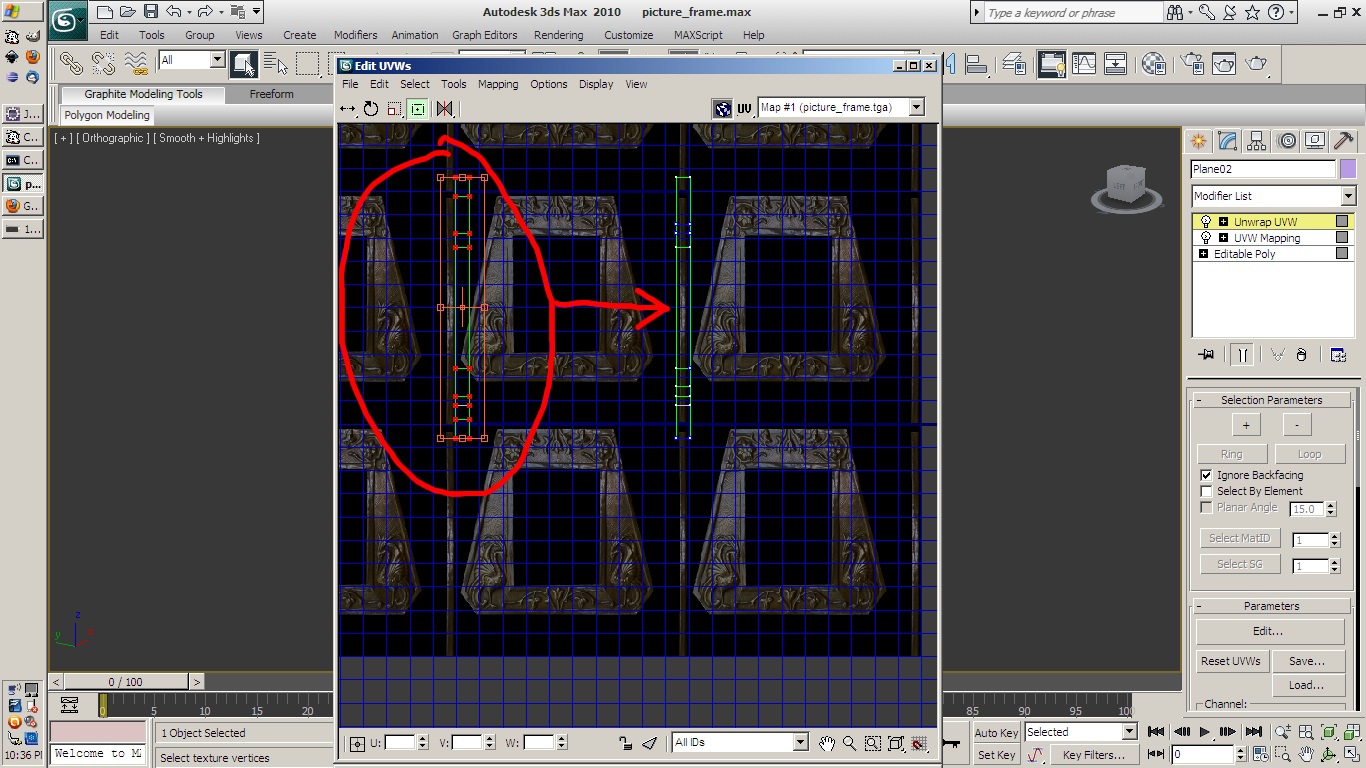
The Box Map ended up creating two columns of faces in the unwrap window. Cool.
I select one and overlap it right on top the other, then align everything on top the vertical strip.
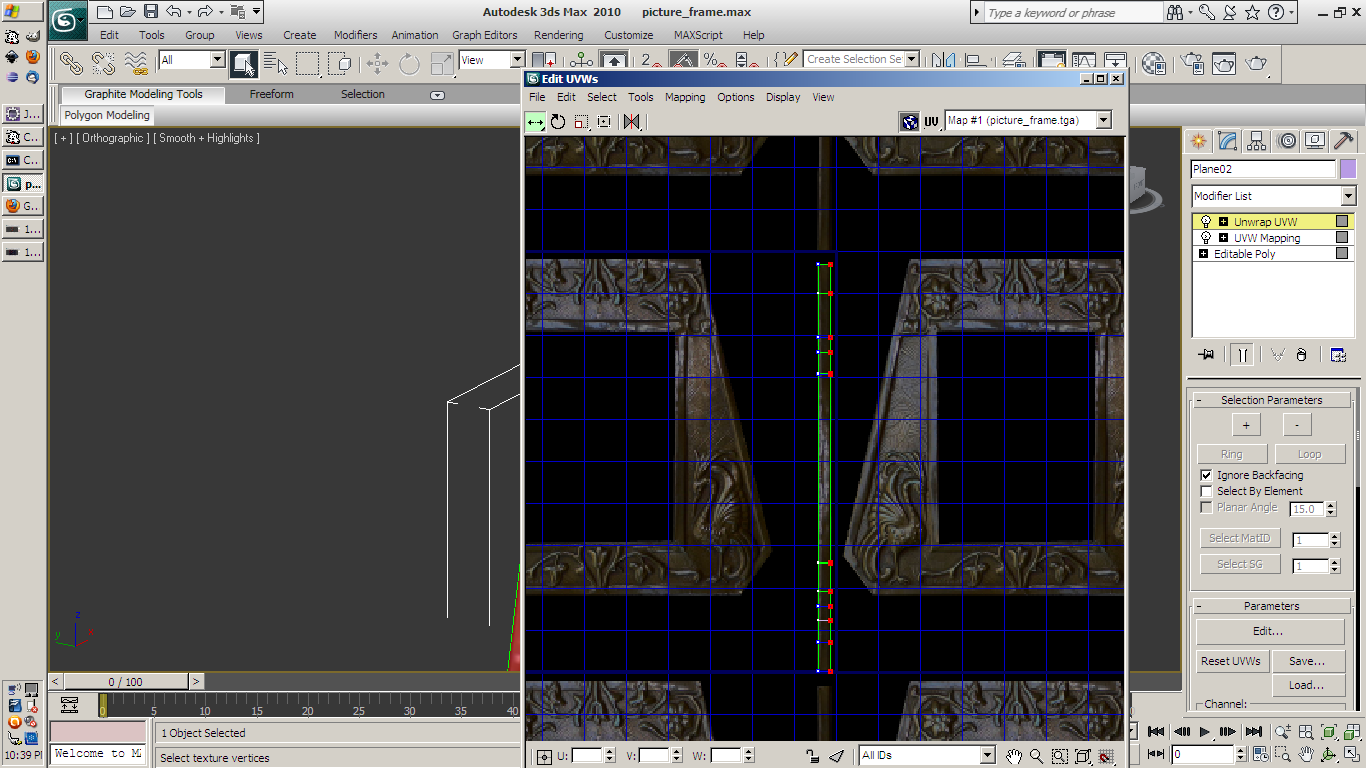
I size all the strips carefully so they line up with the strip in the texture.
I go back to the 3D view and there we are, all the outside edges are aligned!
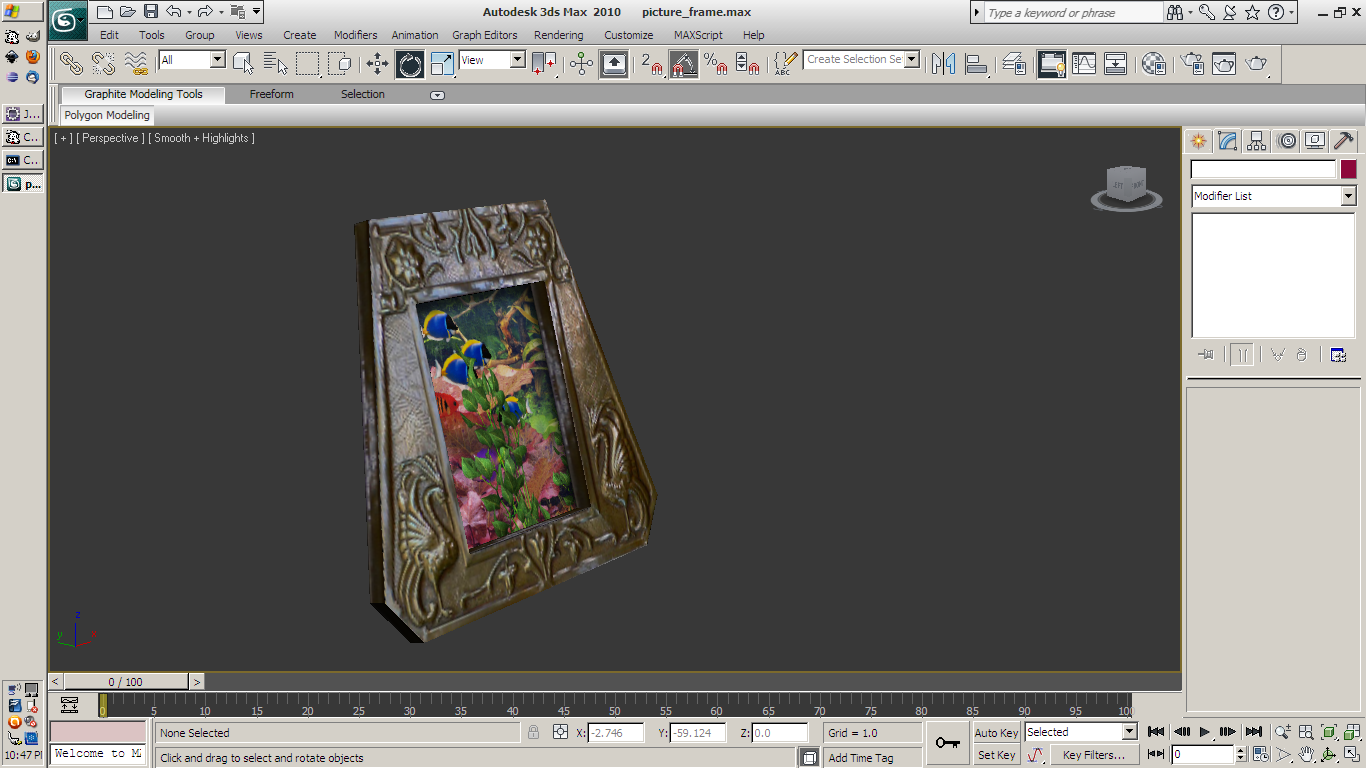
I put a picture in my frame, tilt it back a bit, and I'm good to go!