![[Rice University]](http://www.staff.rice.edu/images/staff/branding/shield.jpg)
Notepad++ Installation on Windows
Here are step-by-step instructions for installing Notepad++ on your Windows laptop. If your experience deviates from the images shown below, flag down one of us in lab, and we will assist you!
-
First, download the Notepad++ installer from the Notepad++ Home Page.
-
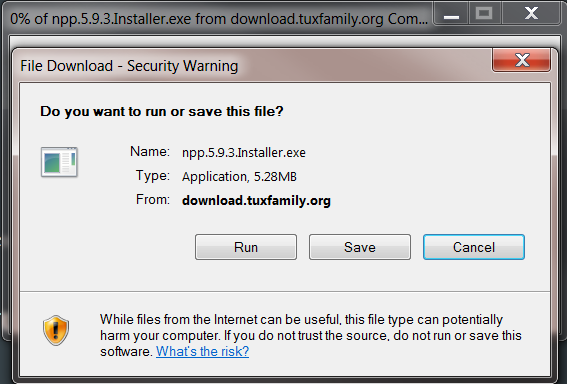
Double click on npp.5.9.3.Installer.exe (or whatever later version you just downloaded) and you will see the following window pop up.
-
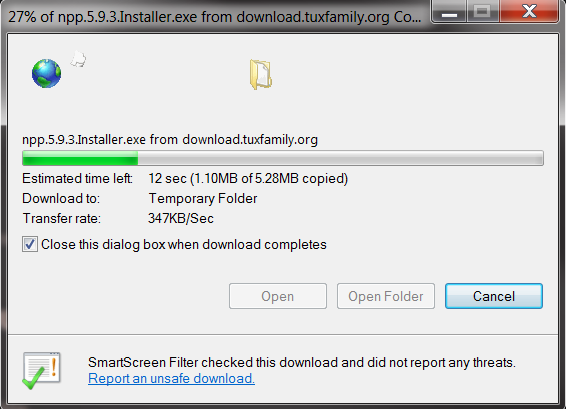
Click on “Run”, and the install files will be downloaded and verified.
-
You will then be asked to select the Installer language. English is the default choice, so hit “OK”.

-
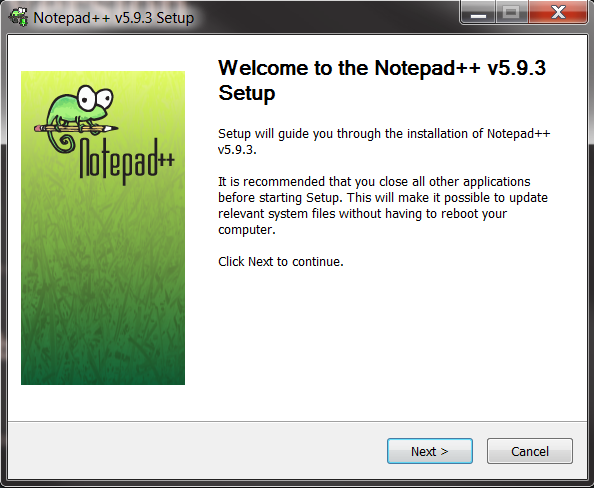
The Install Wizard will guide you through the rest of the installation process. Click “Next” to continue.
-
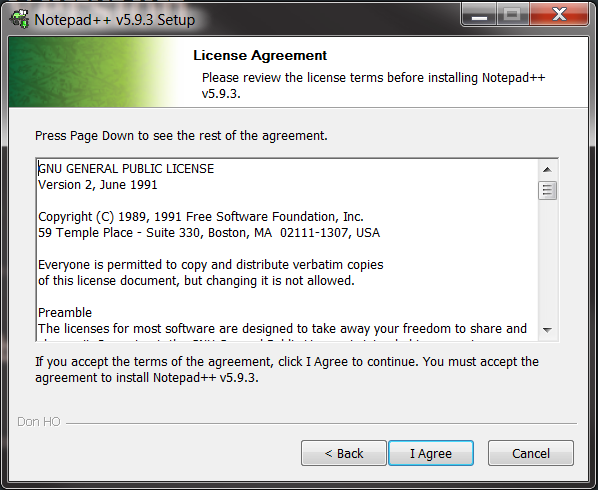
You will need to accept the license agreement shown below, by clicking on “I Agree”.
-
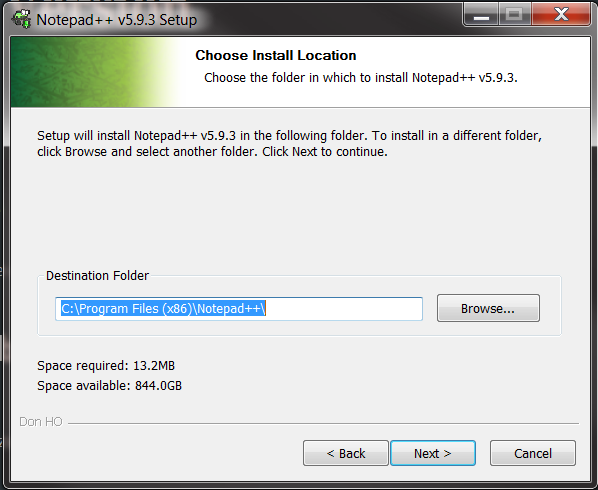
Accept the default installation location proposed by the wizard, by clicking the “Next” button.
-
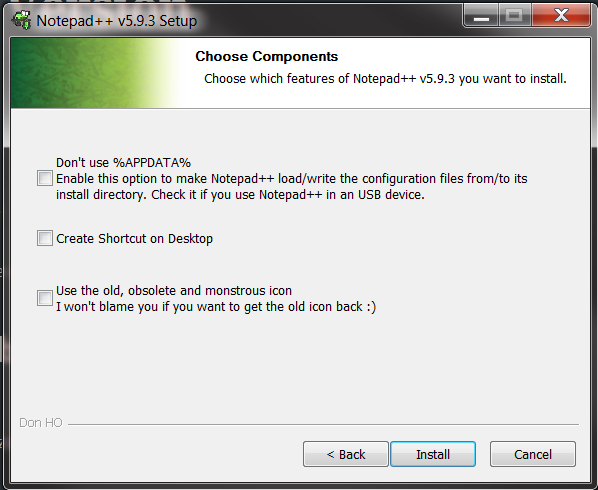
The default components are all you will need to choose, so click “Install” when the screen below shows up.
-
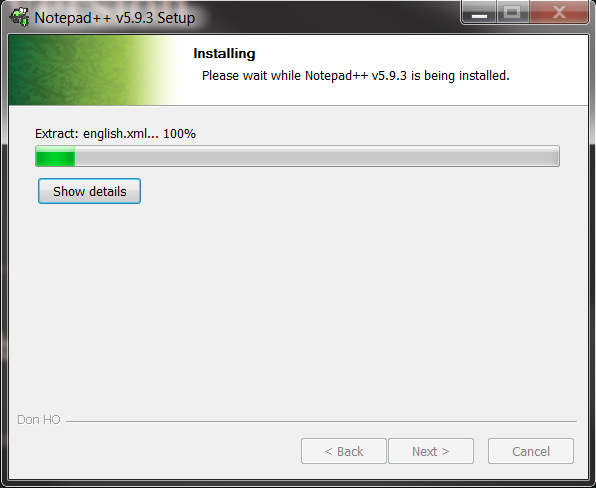
You should see the progress bar window below.
-
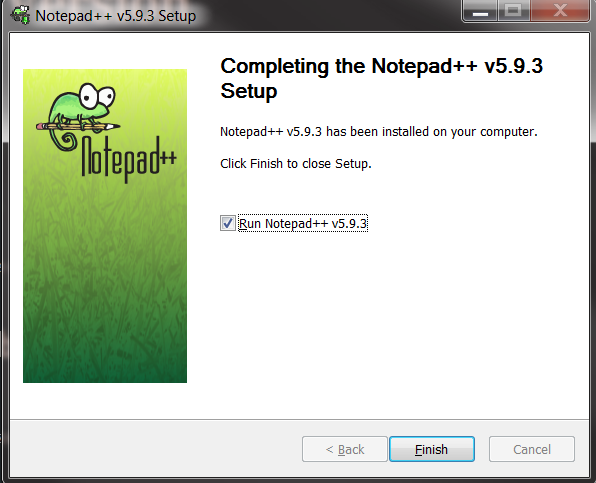
In a minute or so, you will get the finish screen below where you should click “Finish” to complete the installation.
Thanks to Dr. Devika Subramanian for much of these instructions!