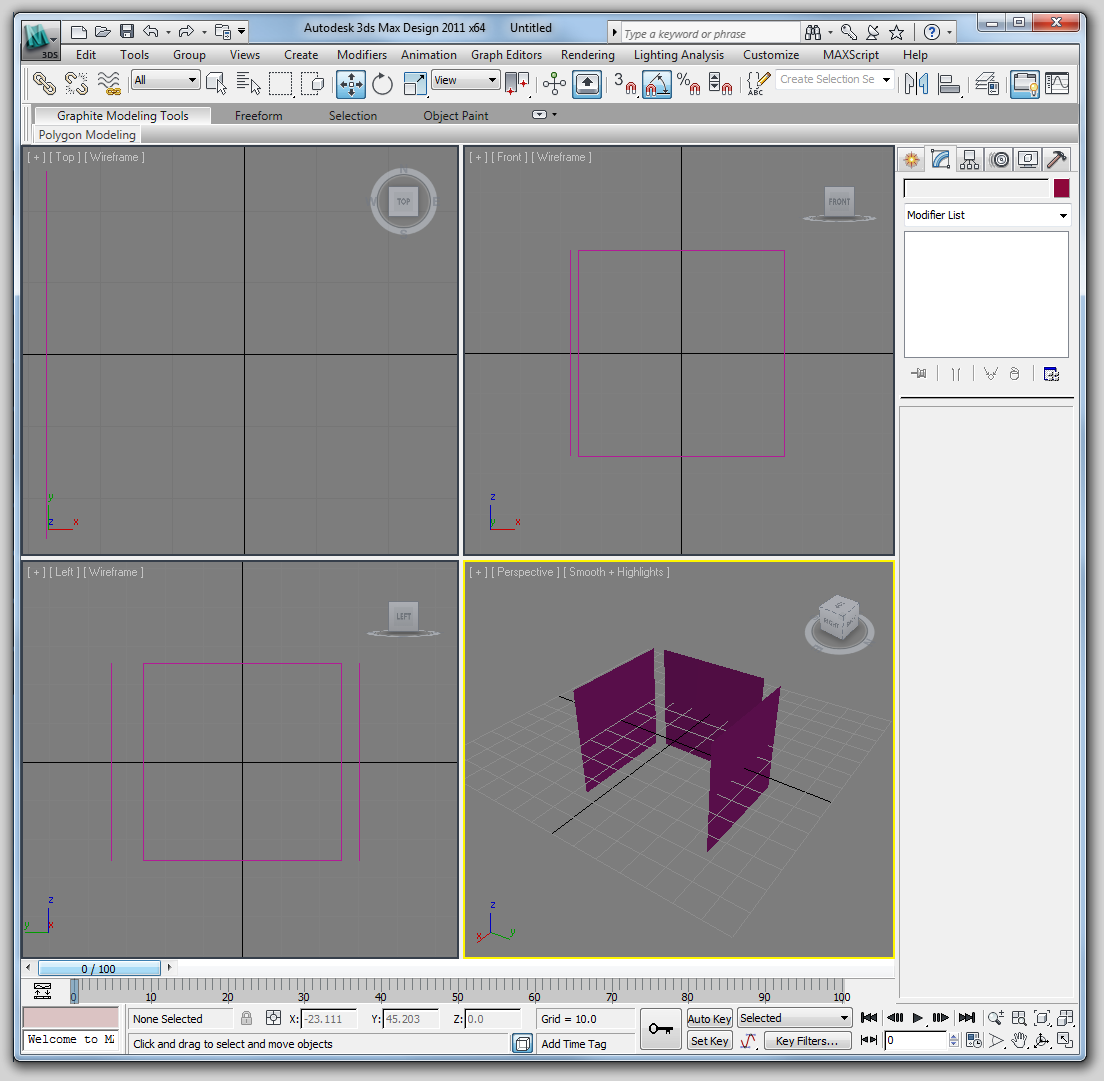
Create three planes close to the center of the scene.
Apply the doghouse texture to each of these planes. Turn off real-world map size
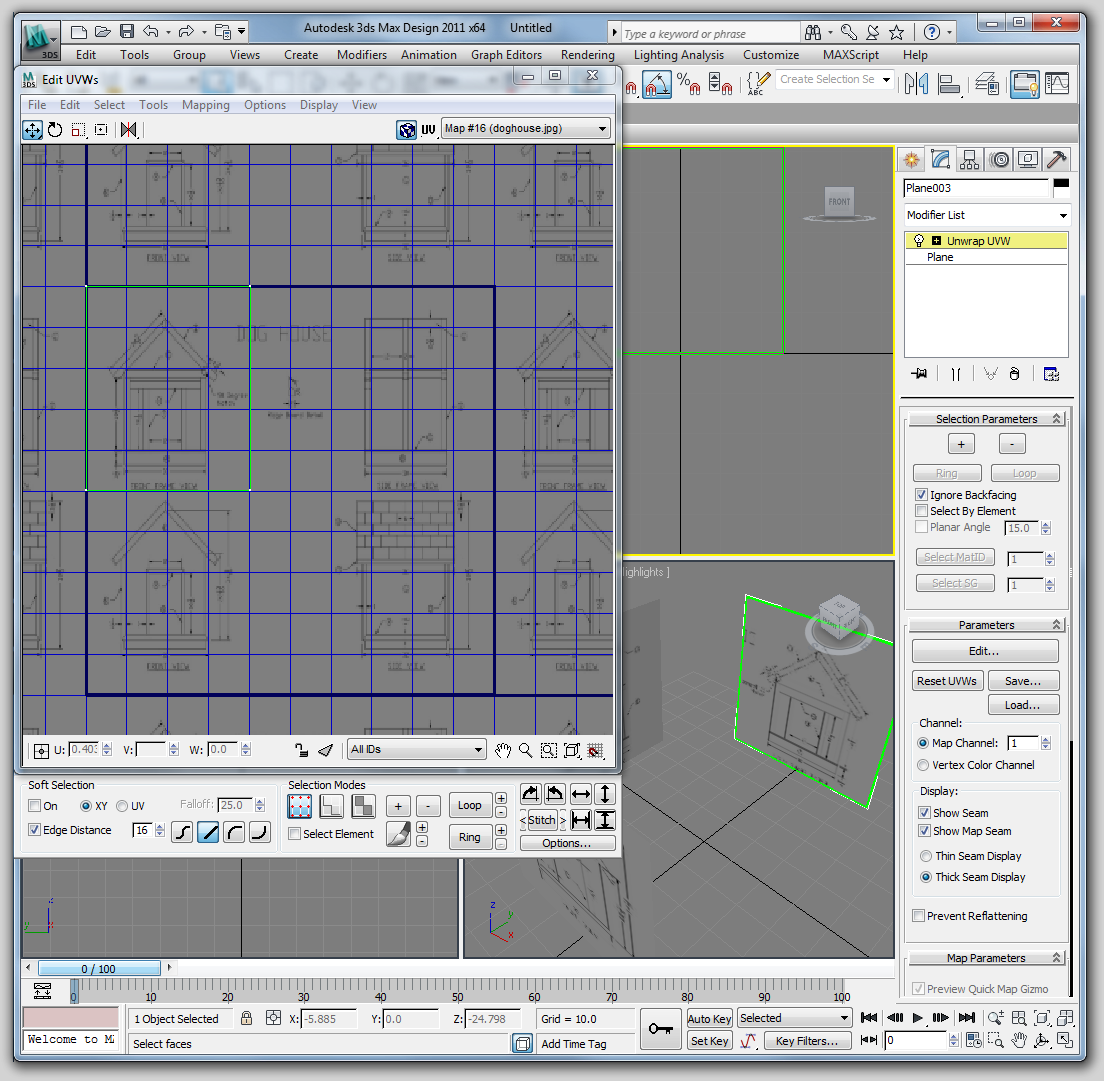
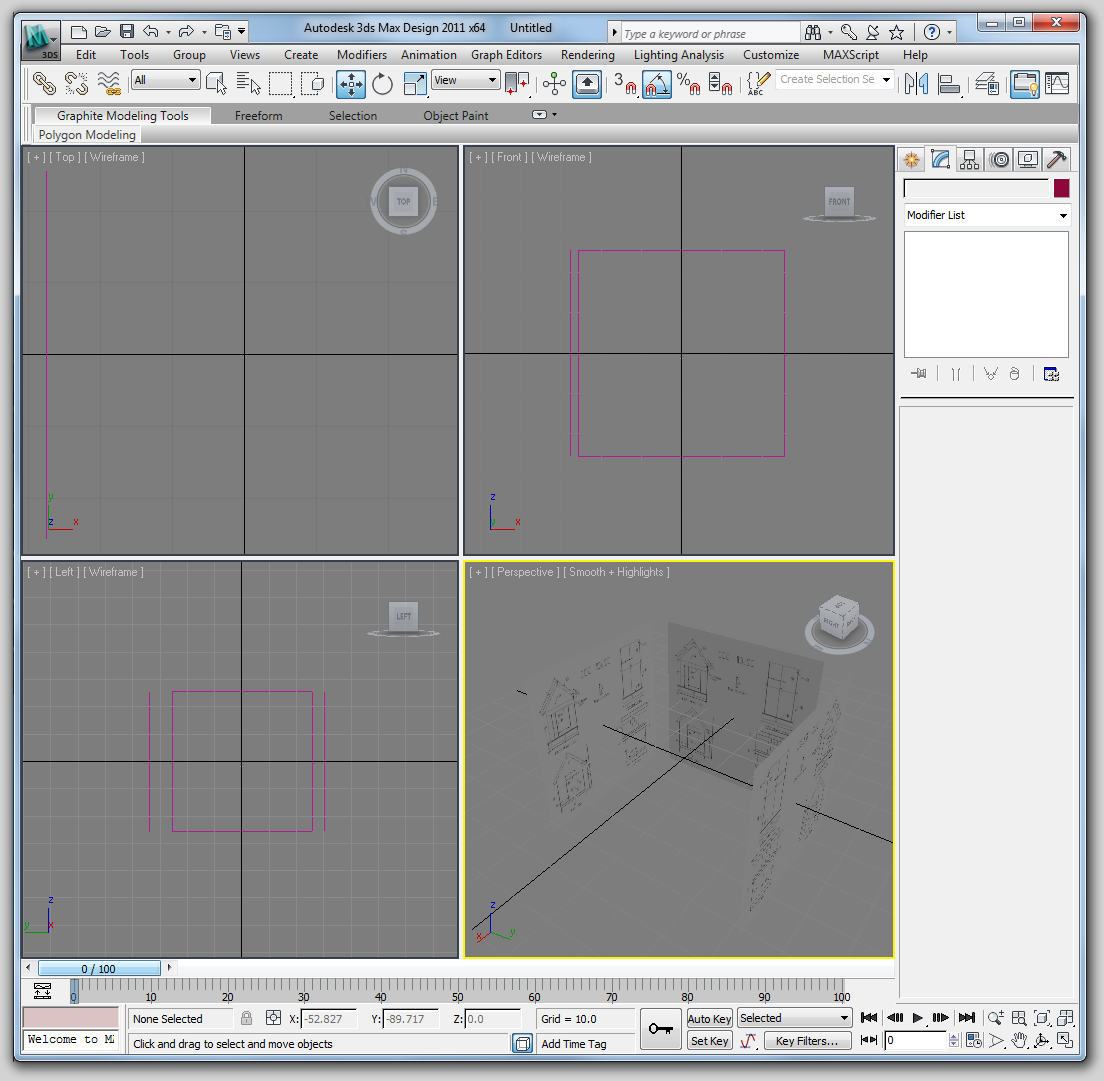
Apply an 'unwrap uvw' modifier to each of the planes, and position edit the UVS for the front, back, and side views so that each is mapped to a 4x5 square.
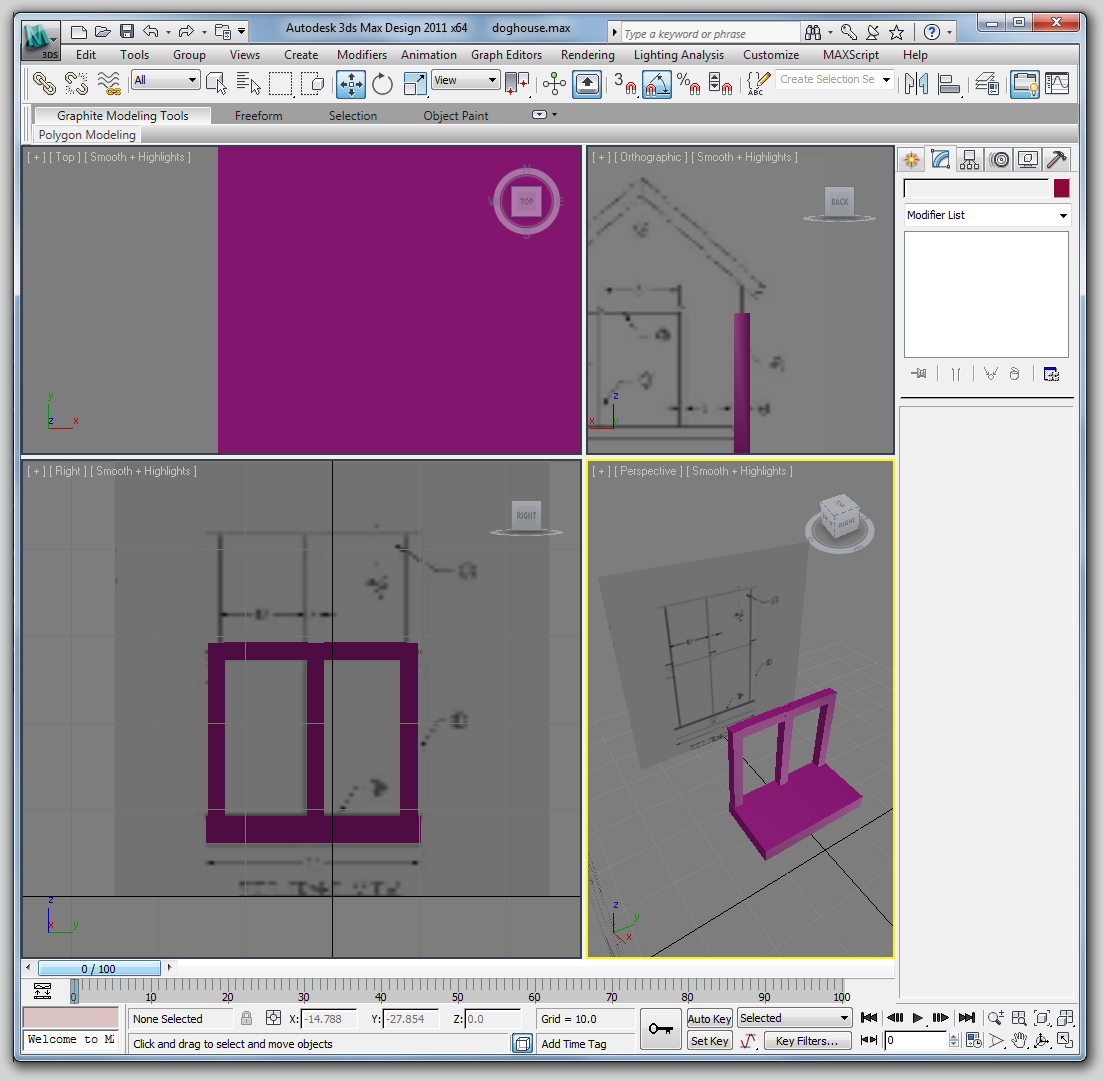
Now we are ready to begin modeling. Note that you can right click on one of the reference image planes and select 'hide selection' if it is getting in your way. Since there is not a strong reason why this model has to be one mesh, we are going to model it as a series of box primitives. We can start out with the frame. Go to a right orthographic view (do not just rotate the perspective view, as this will cause distortion) and start making boxes that follow the reference plane. If you just see wireframes in the viewport, press f3.

As you model the frame, make sure to keep consulting the reference image (the raw image, since the reference planes are somewhat blurry in MAX). You do not need to use the provided dimensions, but it is a good idea to do so when dimensions are available. Try to copy parts wherever you can in order to keep precision. When you make these copies, consider selecting 'instance' instead of 'copy' so that you can edit one part and have them all change. Periodically check the other views to get perspective on what you are doing.
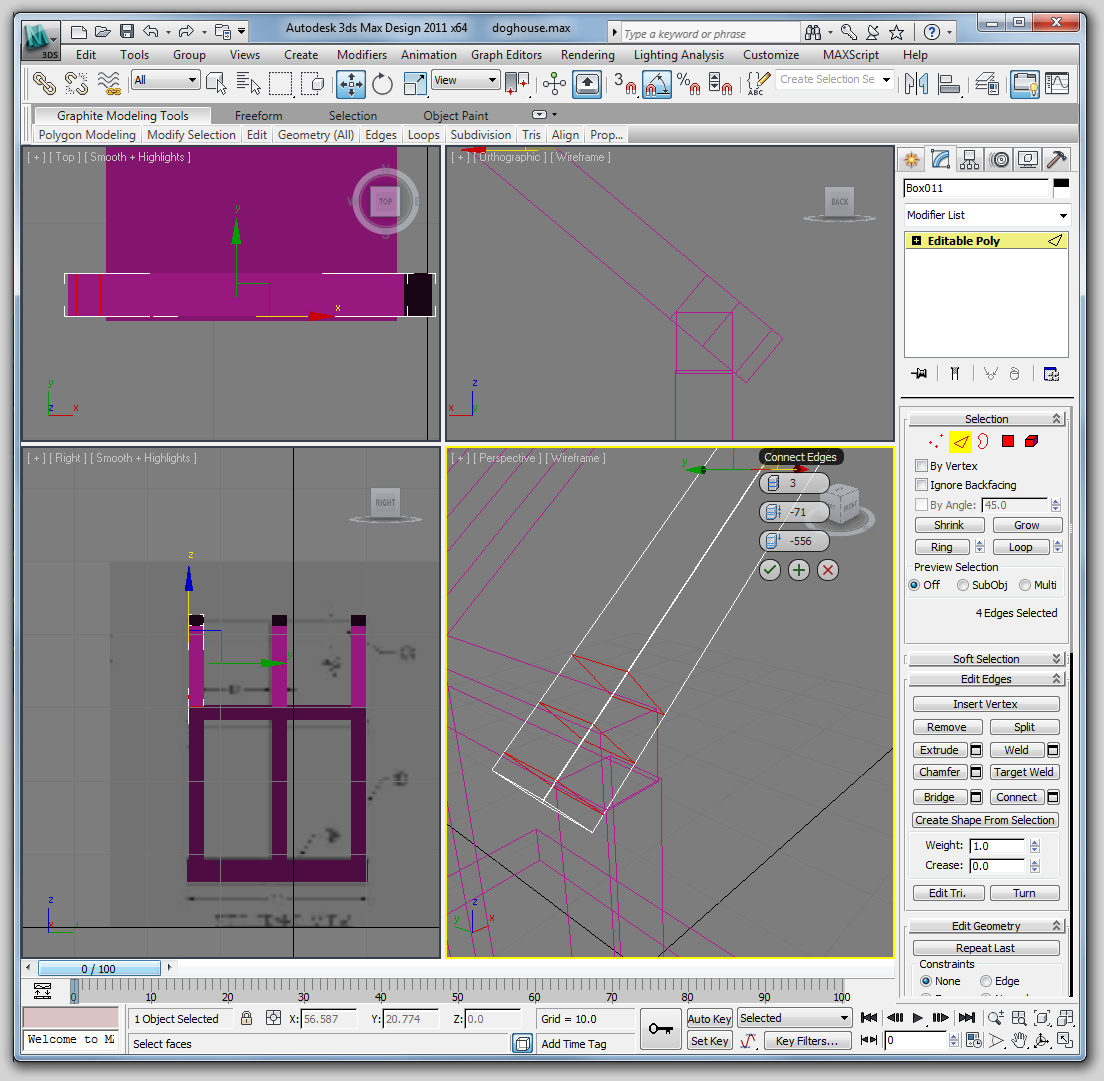
Notice that some of the parts are going through eachother. In order to fix this
we convert the box to an editable poly, select edge, and select the side edges. Then we do a 'connect' with parameters similar to those shown. Then we just move one of the newly created edges to create the notch.
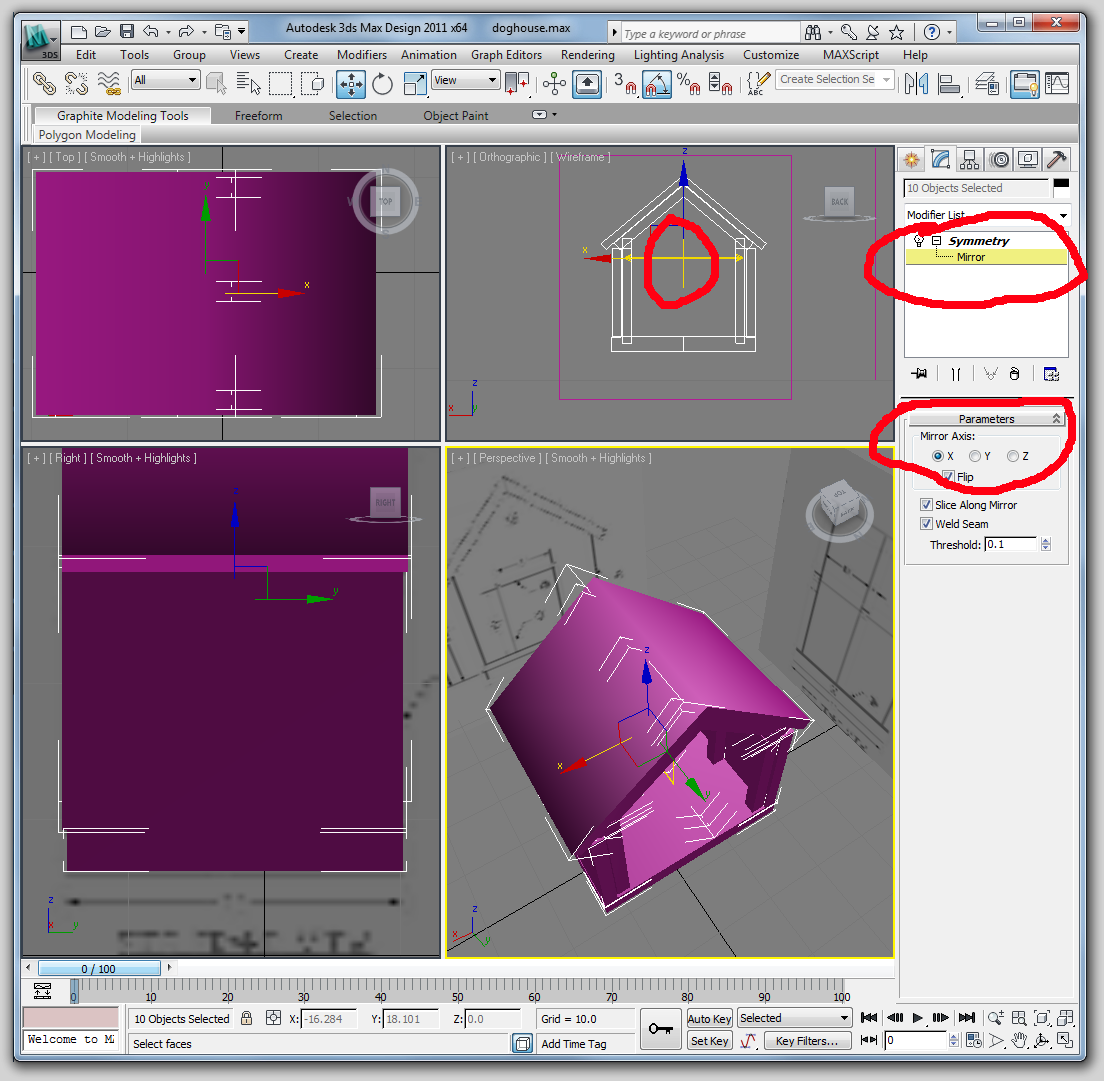
Since the house is symmetrical it makes sense to only build half of it then have MAX duplicate this. If you would like to do it this way, select half of your doghouse and add the 'Symmetry' modifier. Notice how this modifier is in italics. This is because it is applied to a group of objects. Check the 'flip' checkbox and make sure mirror axis is set to X. Then, expand the symmetry modifier in the stack and select 'Mirror'. Drag the mirror point around in a viewport until it is in a location that makes the shape you want. You can turn off this modifier by clicking the light bulb next to its name. When you are done with this model, it should have all of the detail implied by the schematic, and roughly the same proportions