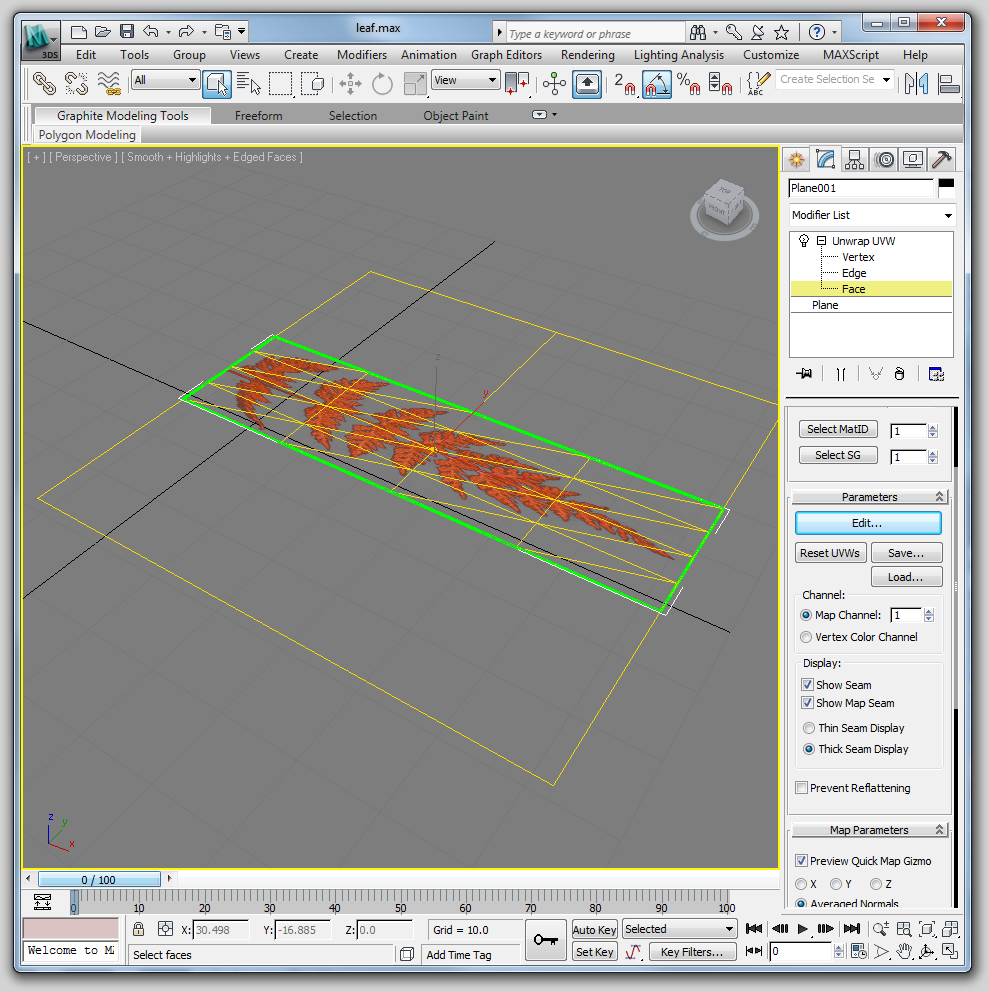
Create a plane that is around 4x4. Apply the fern.tga texture. Open up this material in the material editor, click to expand the 'Maps' tab, and check the box next to 'Opacity'. When we have been creating materials, we have really been setting the diffuse color map. There can be several maps inside of a material. Click the 'None' box next to Opacity, then click bitmap and browse for fern.tga. The tga format supports transparency through an alpha channel in photoshop (meaning this image has its own opacity information), which the program will now read as an opacity map.
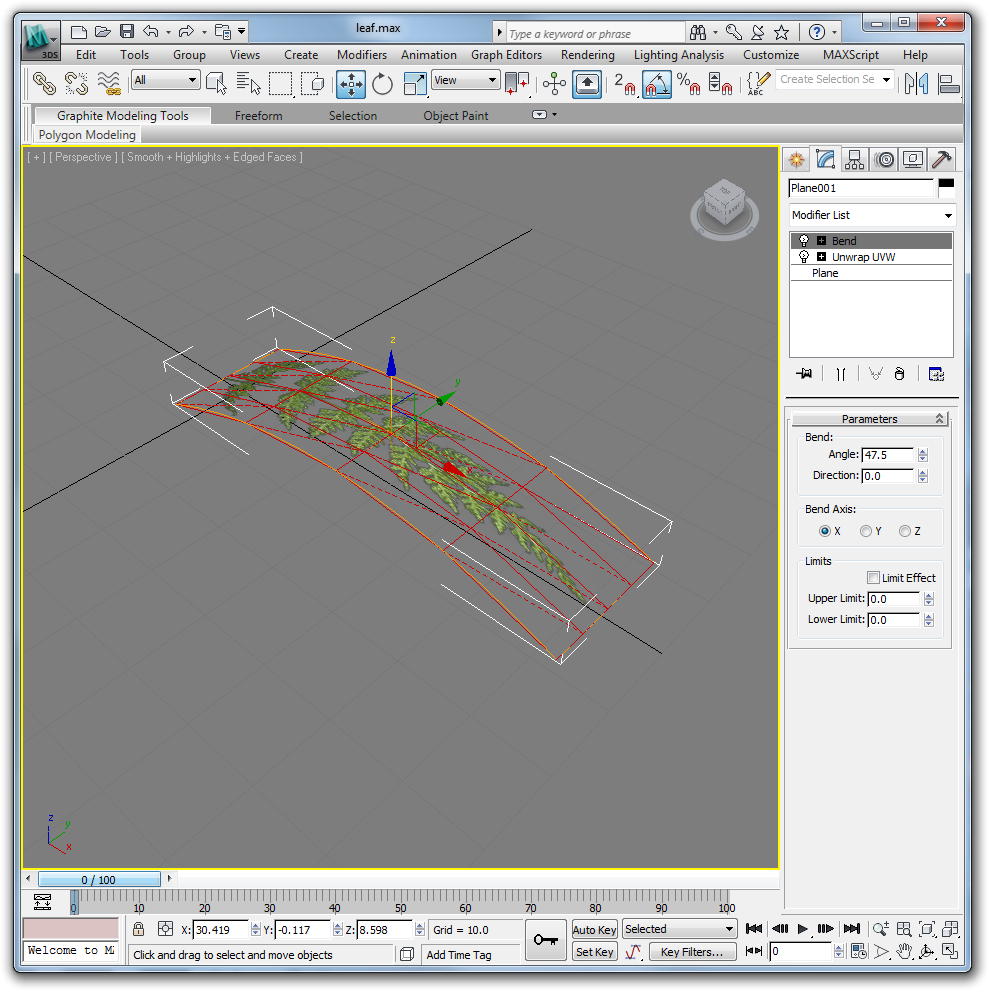
Apply a bend modifier with the following settings.
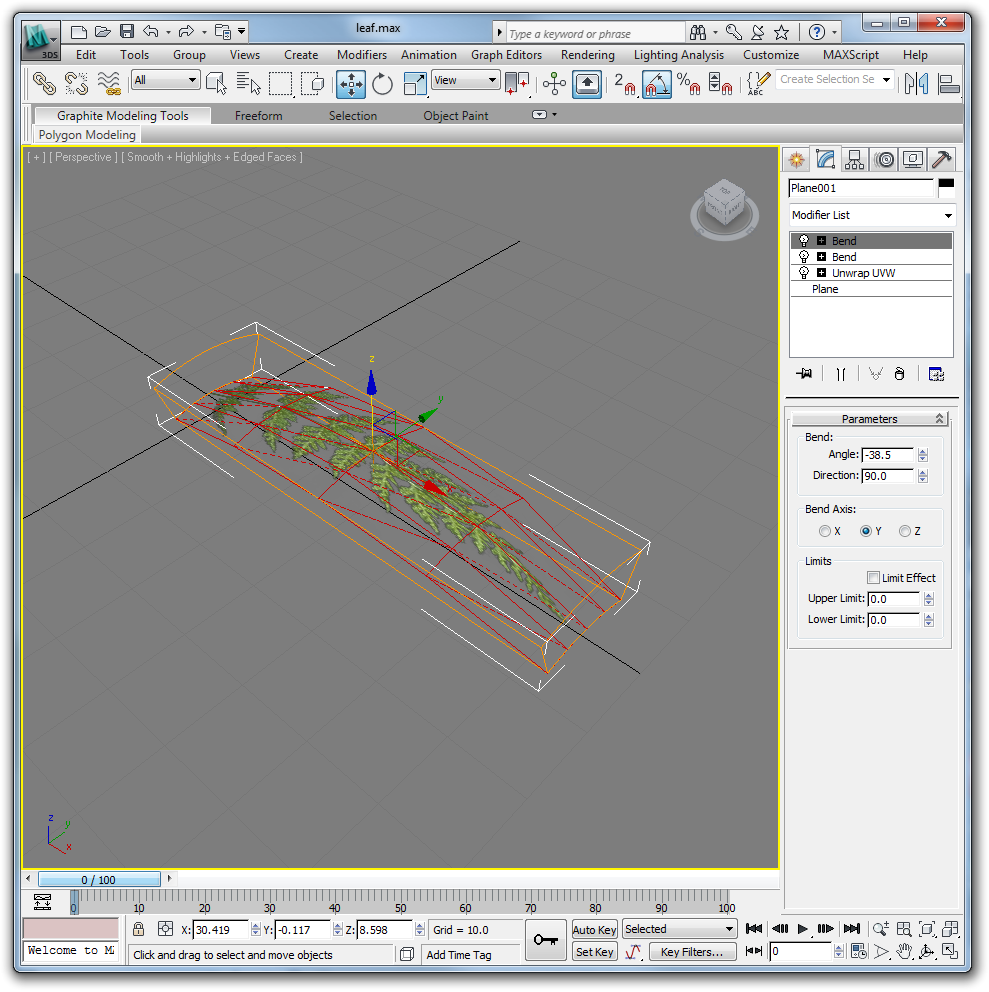
Apply a second bend modifier as shown.

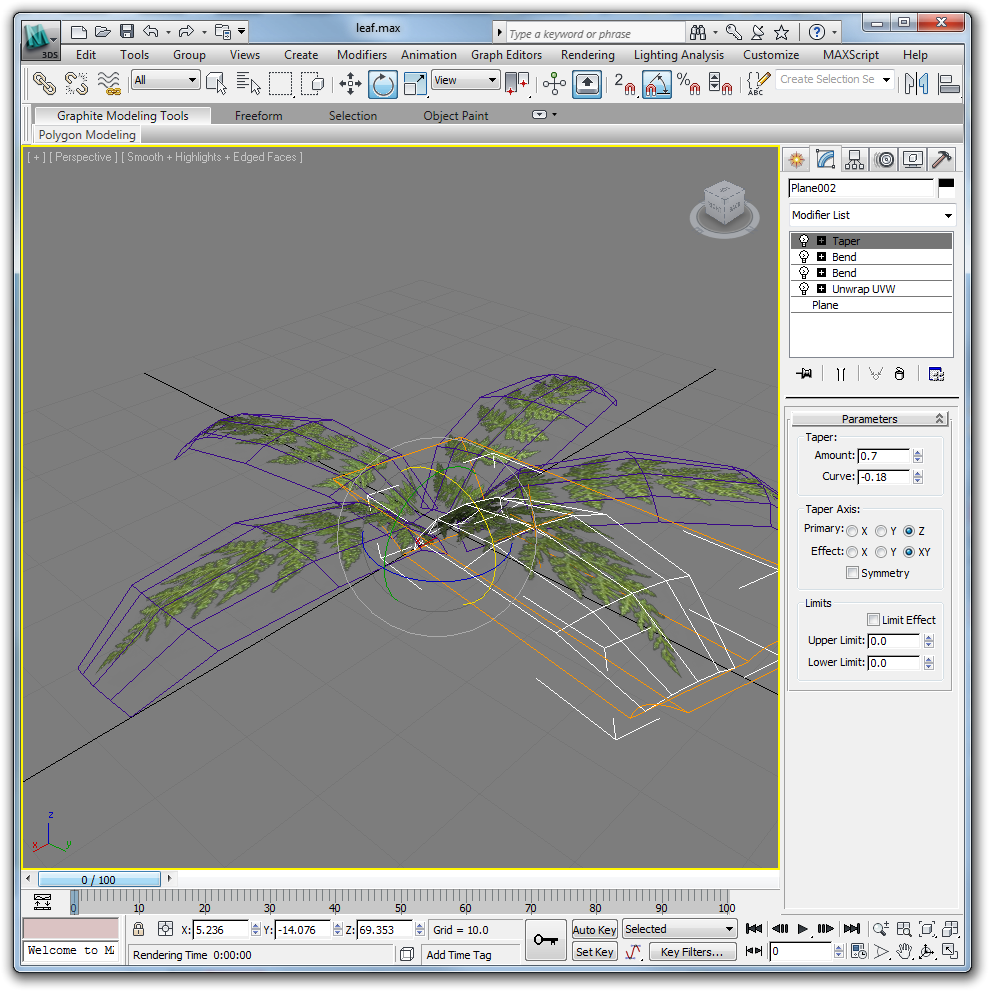
Apply a taper modifier as shown. Note that these effects can be replicated fairly easily by manually editing vertices. The idea here is to provide a general shape that can be changed for each iteration of the leaf.
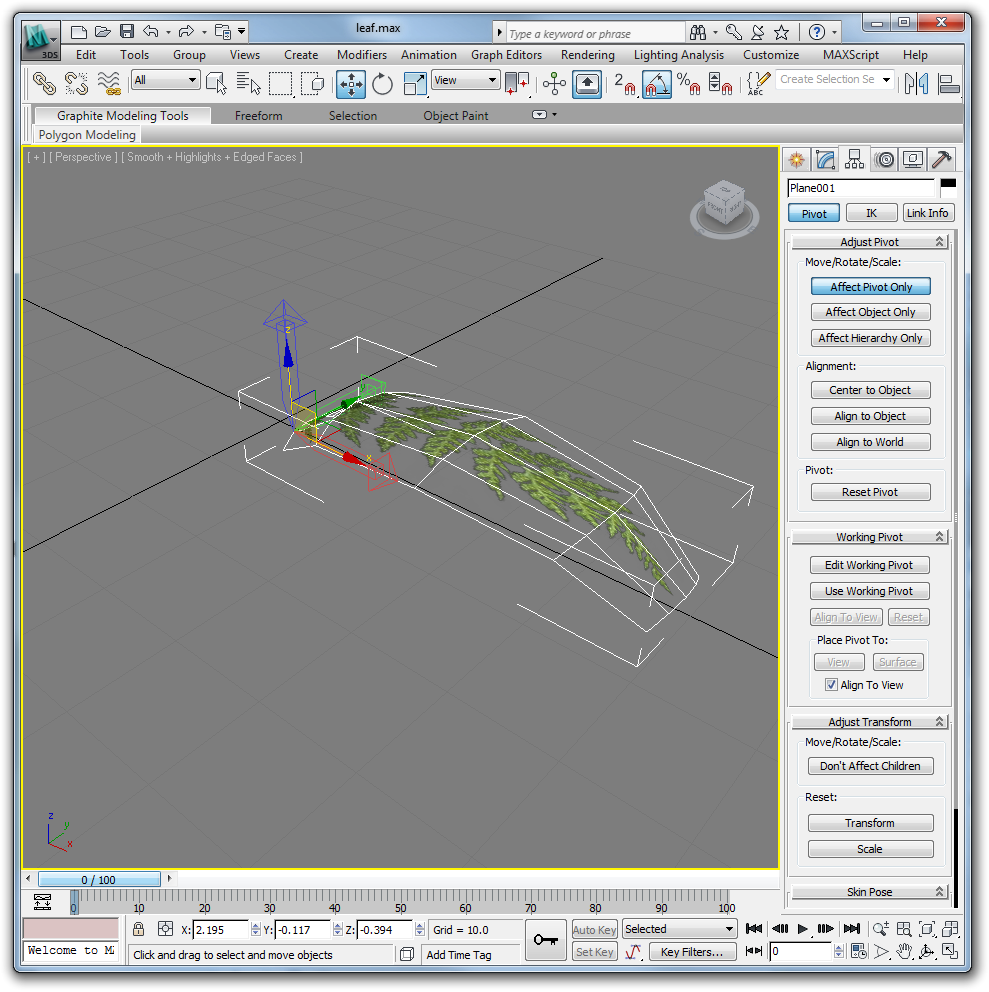
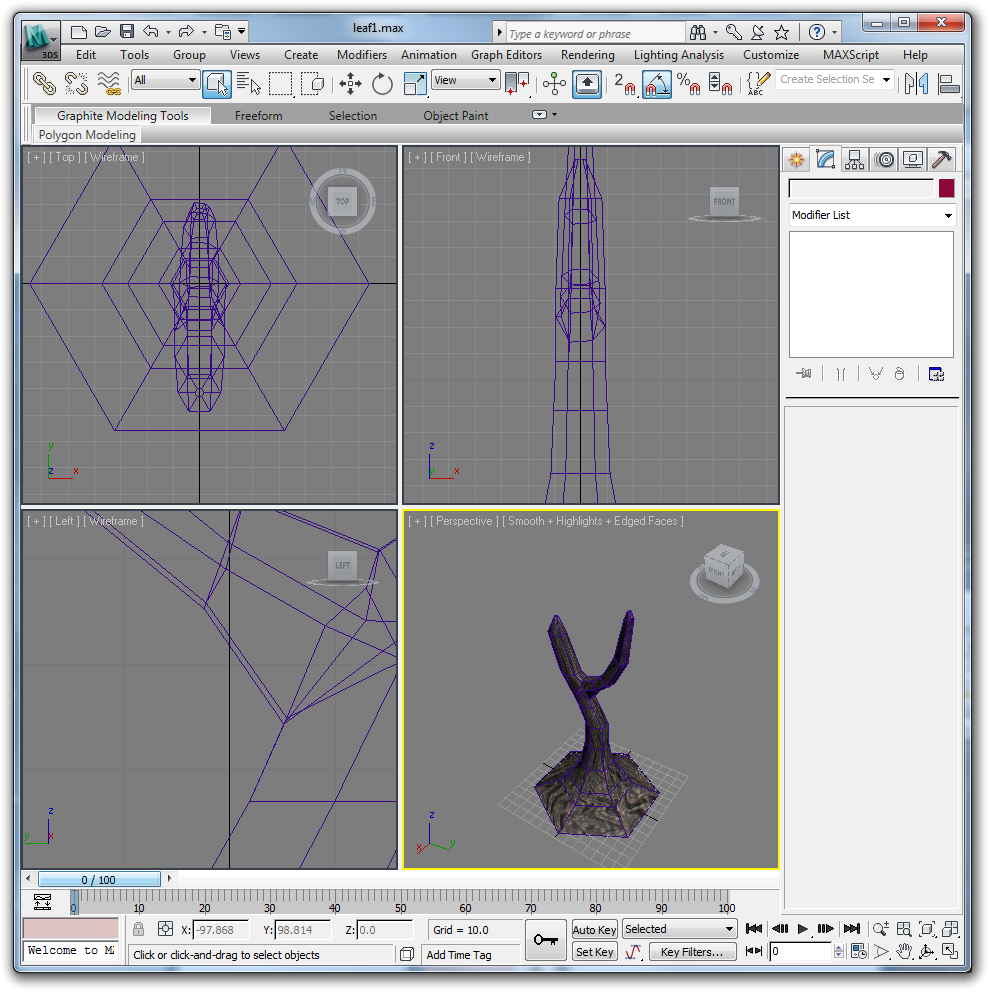
Move the pivot point of the object to one end of the fern. To do this, click the 'hierarchy' tab in the upper right, and click 'affect pivot only.' Until you click this again, or click off of the hierarchy tab, moving the gizmo will move the center point of the object.
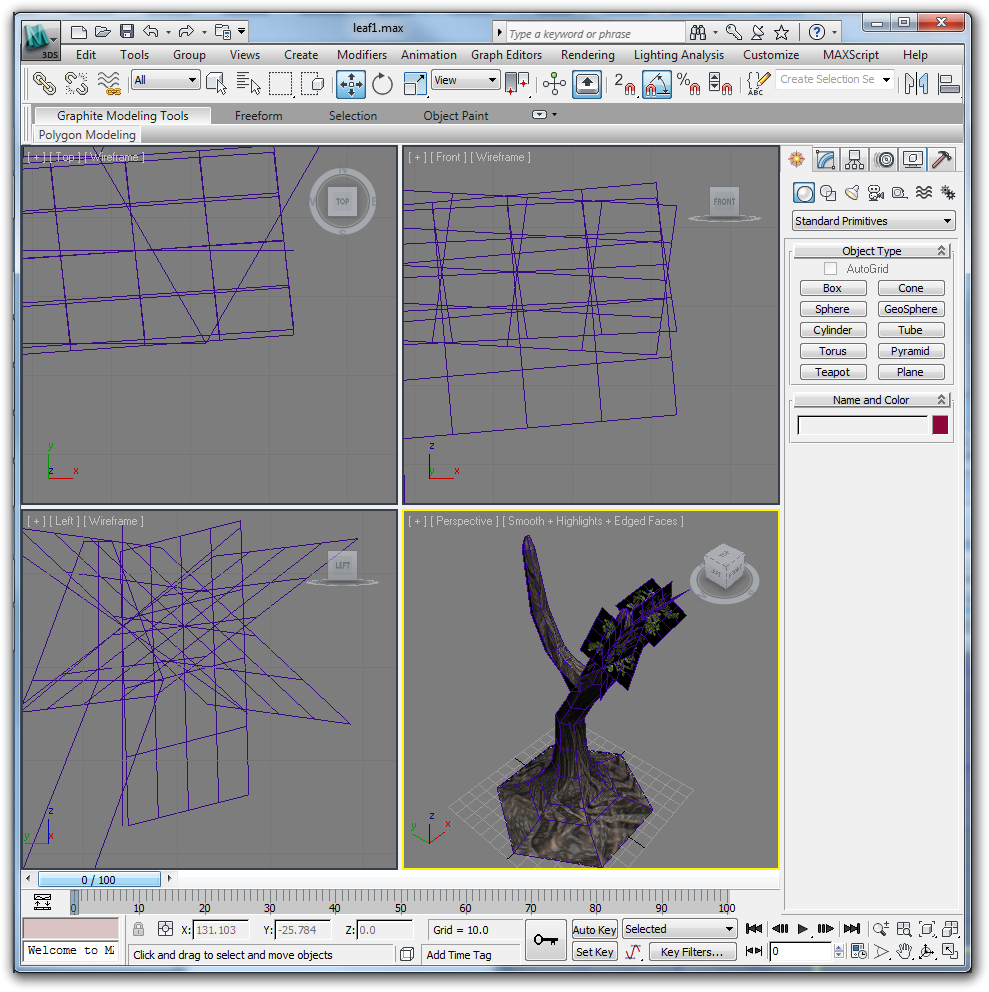
Hold down shift and rotate the leaf. This will make a clone of the object rotated around the pivot point you just set. Be careful which leaves are instances. If things look too homogeneous, the fern will not look very organic, but if everything is a copy, making a a small change will take a long time. Continue producing leaves in this fashion until you have a full fern.
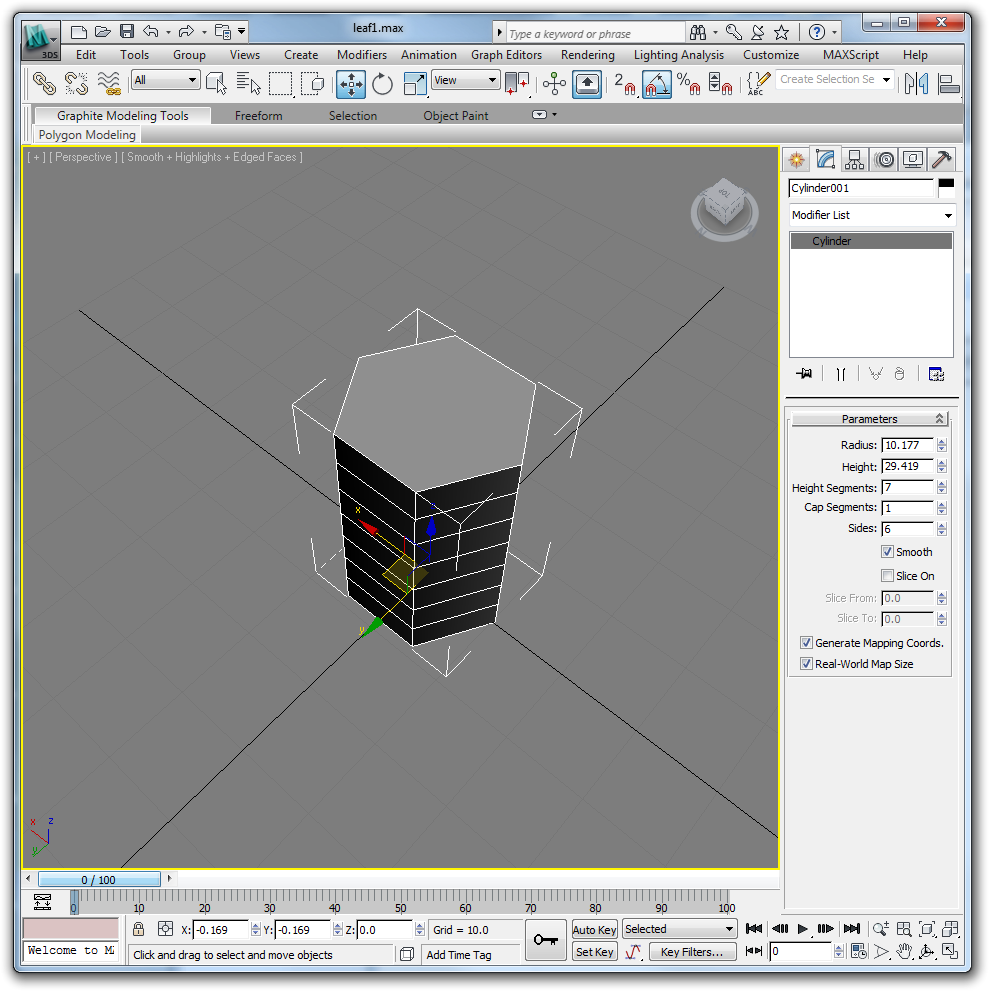
Now that the fern is looking good, it's time to model a tree. Create a cylinder to start with. In order to keep modeling simple, we keep the poly count fairly low. However, to save some UV headaches, we guess at how many height segments we might need.
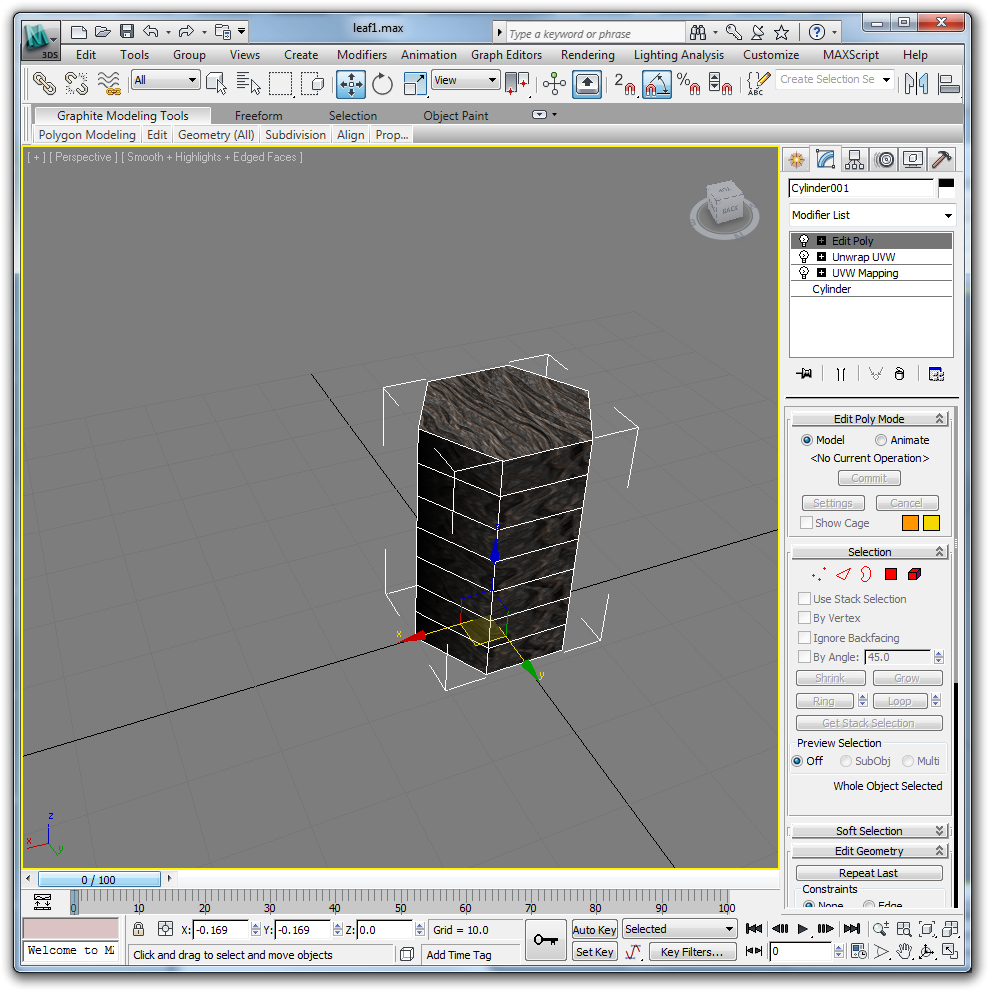
Apply treebark.tga to the cylinder.
We do this now because doing it after we have added branches will lead to a bit of a mess. Use a cylindrical UVW map modifier and a planer unwrap uvw on the base and cap.

Scale lateral sets of vertices until you have a tree- like shape. Try to minimize texture distortion. Selecting in the side view and scaling in the top view works well.
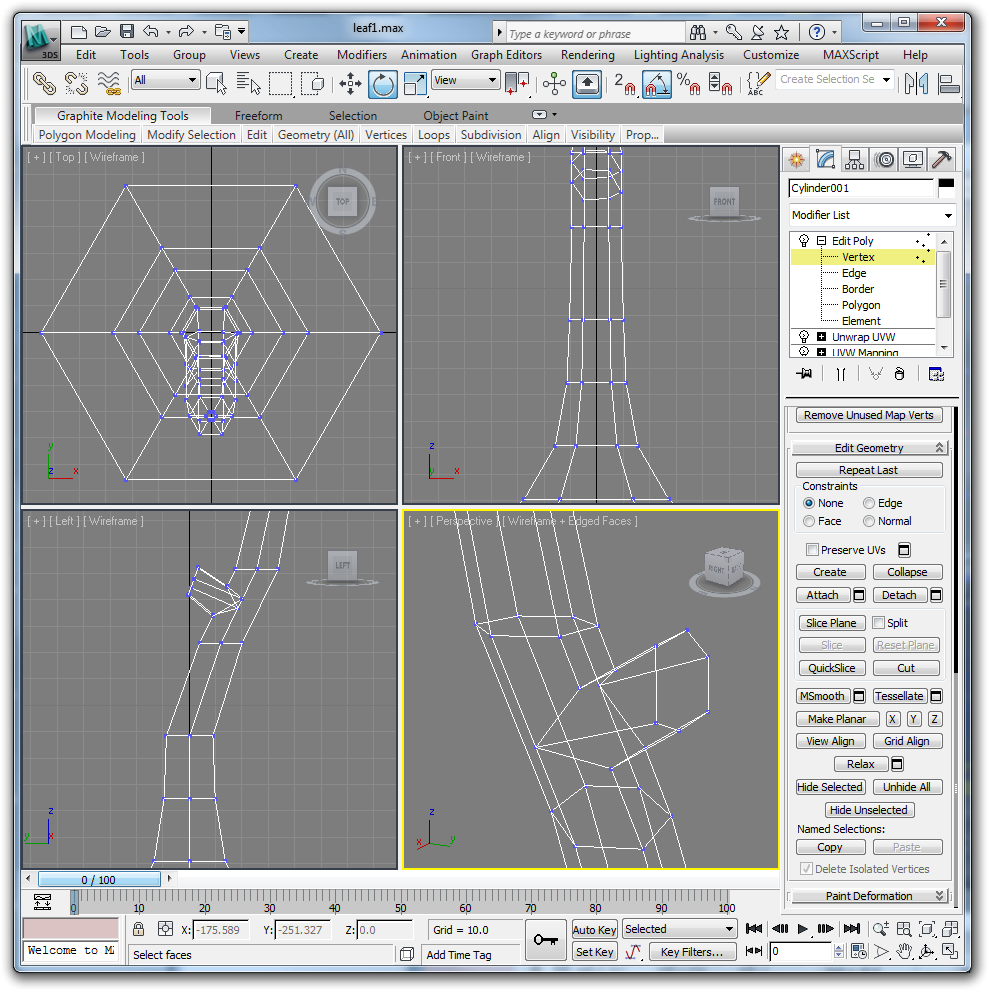
Add a fork to the tree. One way to do this is to use the cut tool to cut out an outline of where the new branch will go, then either use the extrude tool on this cutout or shift-drag the edges out. Ultimately you will want to go back to these junction points and clean up the texture stretching and hard edges that are created.
Taper off this limb manually, then (eventually) use unwrap uvw to reduce texture stratching and the cut tool/ vertex manipulation to soften up the hard edges at the fork. Generally, doing the unwrapping afterwards is best, as going back down to the editable poly level will lose your UV data (unless you collapse the modifiers).
Create a plane, and apply treebranch.tga as diffuse and opacity map as we did before. Make sure '2-sided' is on in the material properties. Note that these planes do not look very much like branches if the camera is not looking at them straight on. As such, as you place the branch planes coming off of the larger physycal branches, try to place them at varying angles.
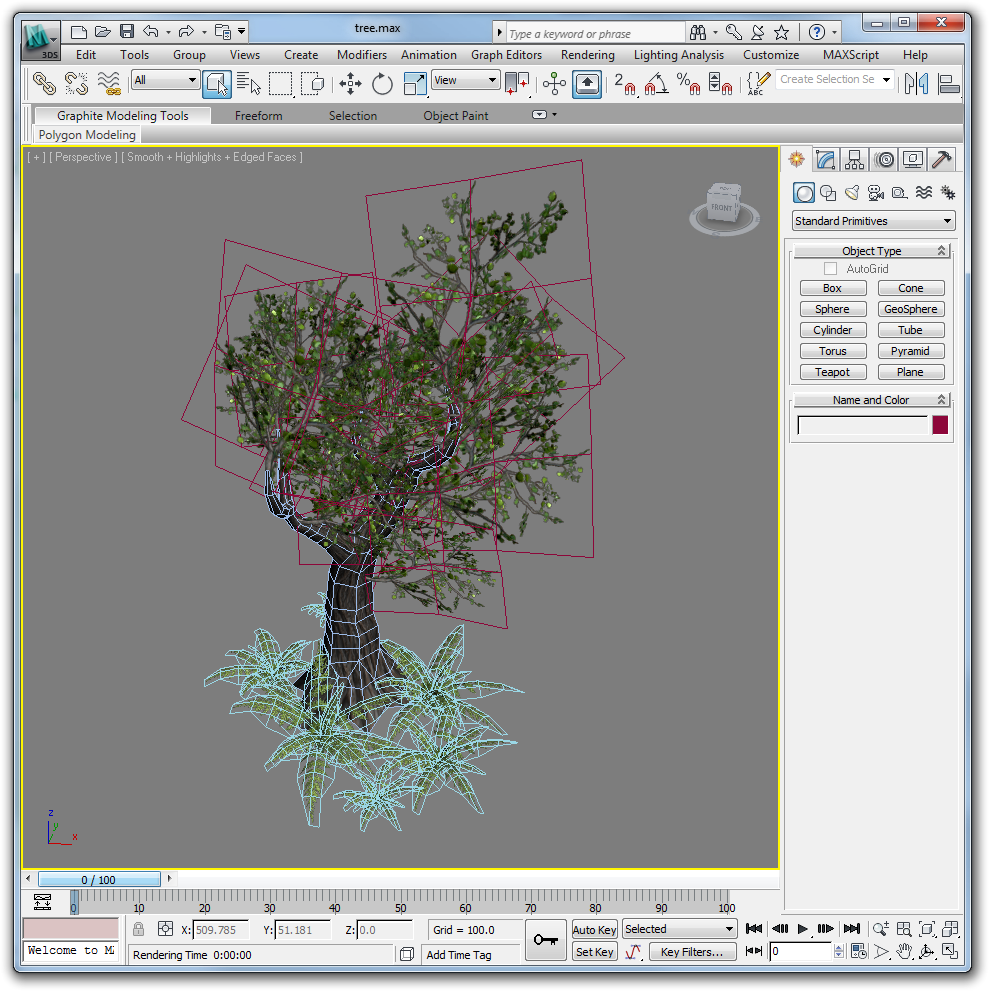
Before your tree is finished, check to make sure you have no egregious texture stretching, hard edges, and floating branches. Create a scene with the ferns and tree when you are done. Try to keep the tree as low poly as possible while still maintaing smoothness and organic nonuniformity.